I build myself a Dead Simple Wing 24"
Building this RC Wing made me do some research to understand how RC models work.

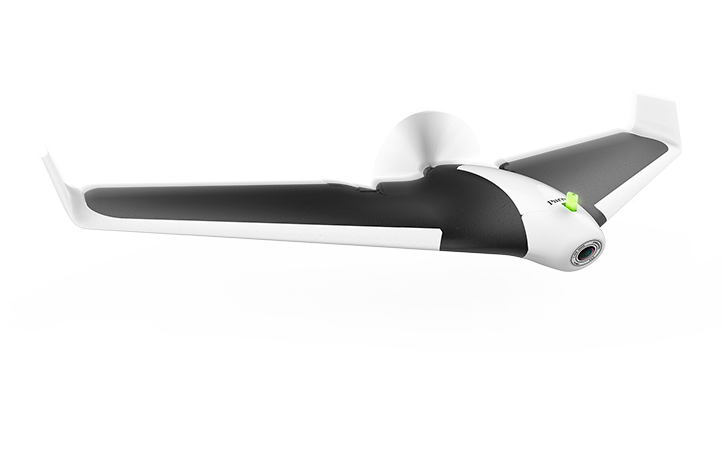
During the Christmas holiday, my father in law received a Parrot Disco FPV Wing. We flew it, and it gave me the urge to build my own wing, not as beautiful and powerful, but cheap as possible. Let's do that!
Before reading the article, please not that I'm a complete beginner, and this article should NOT be considered as a reference. I'm just sharing my journey :)
Which design?
I googled a lot to find a way to build a wing from scratch, without any knowledge.
I found a YouTube video from a guy which build a DS24. I understood later that it was an acronym for Dead Simple Wing 24".
The post of the original maker can be found on RCGroups.com. There is more than 50 pages of discussion!
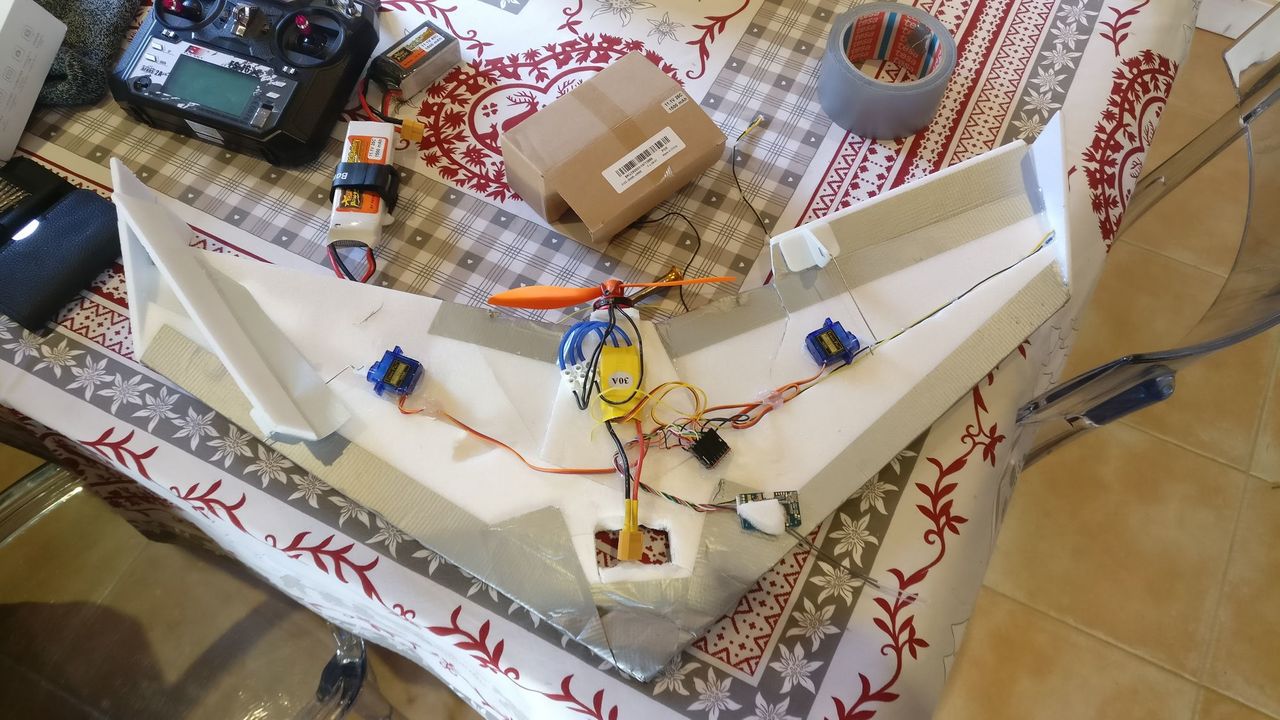
Hardware
The wing is made from a cheap foam board. The plans are available on the forum page, and already titled to fit on A4 sheets!
For the foam board, it's quite difficult to find a cheap material in France (compared to the dollar three foam board at $1). I ended buying a foam board (without paper on the sides) in an art & craft shop for 5€.
On the electronic side, it's quite simple. The wing does't use any flight controller!
I only need:
- 2x servos
- 1x brushless motor
- 1x ESC
- 1x propeller
- 1x battery
- 1x RC Receiver with PWM
- 1x RC Transmitter
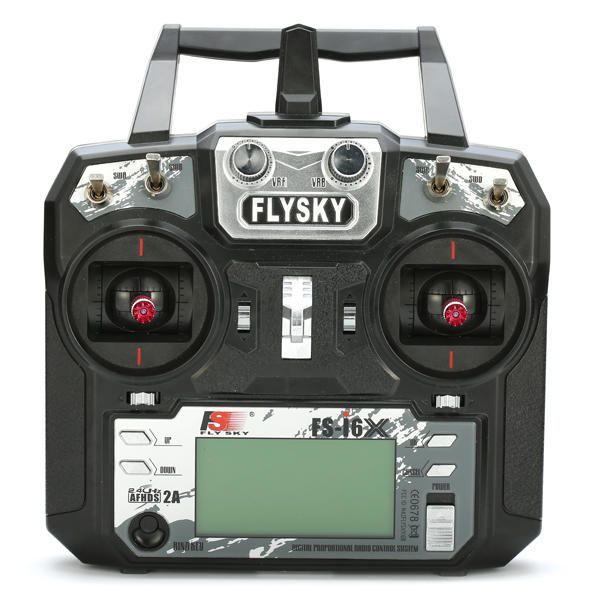
I already own a RC Transmitter, a FlySky FS-6X. I will use this one.
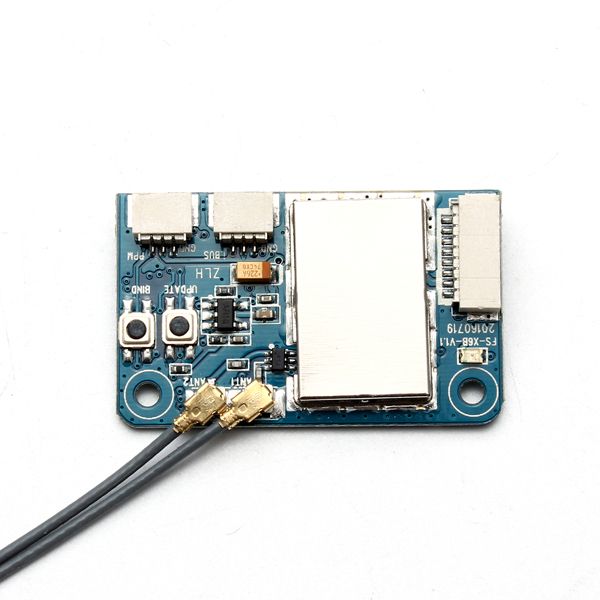
For the RC receiver, I will use an X6B, which is a FlySky receiver with PWM capabilities.
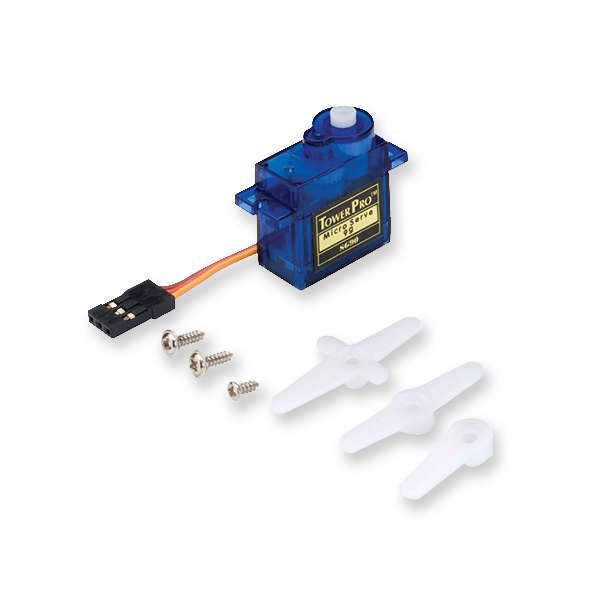
I will use cheap SG90, 9g blue servos, as I already have some in stock.
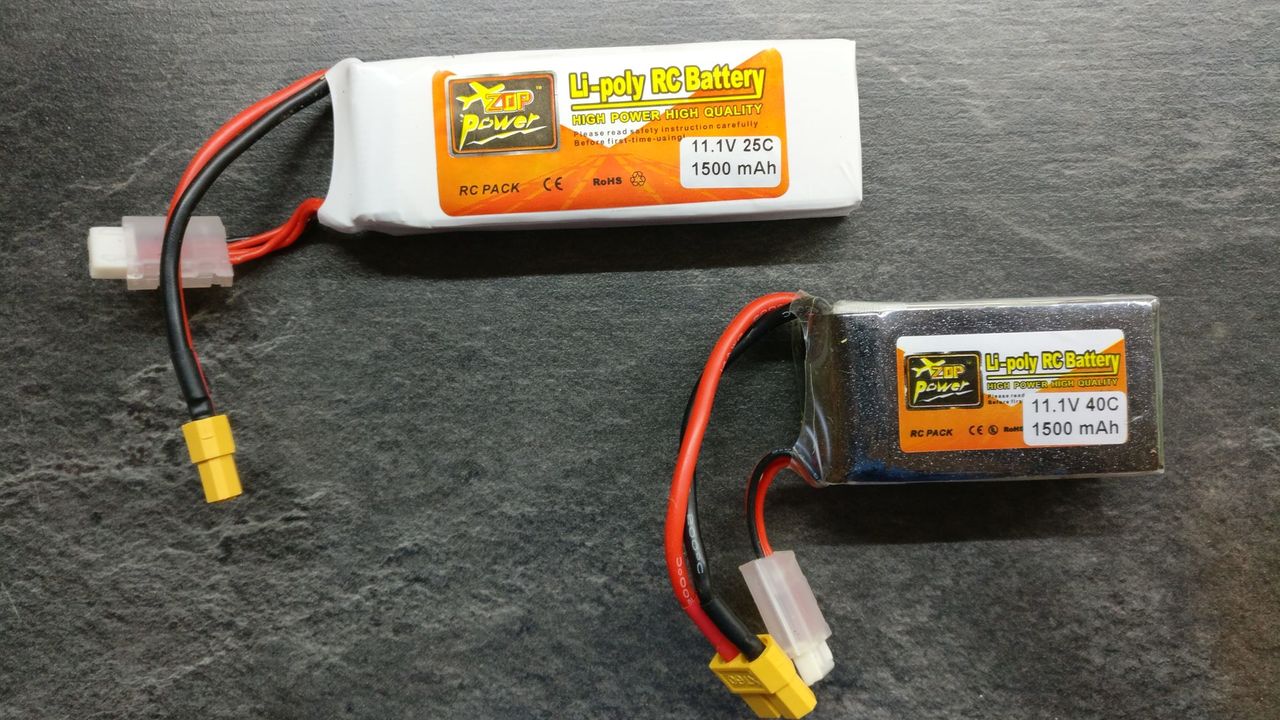
For the battery, it seems that some makers are using 2S or 3s batteries. It means that the battery has 2 or 3 cells in series, which impacts the output voltage.
The battery should be light, and apparently between 600mAh and 1500mAh. I bought 3 batteries over 1Ah to experiment (but the 1Ah battery did not come). I was afraid to go lower and have a too short fly time.
For the motor, I had two ideas: use a cheap brushless motor for 5 inches quads, with a high Kv, or use a smaller motor with lower Kv (but less common and more expensive) and use a large propeller.
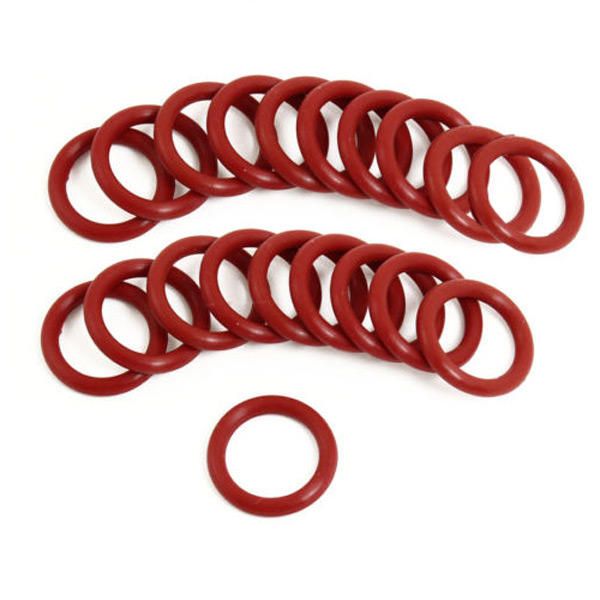
I finally chose a Racerstar BR2403. I also ordered some o-ring (21 x 15 x 3mm) to attach the propeller to the motor.
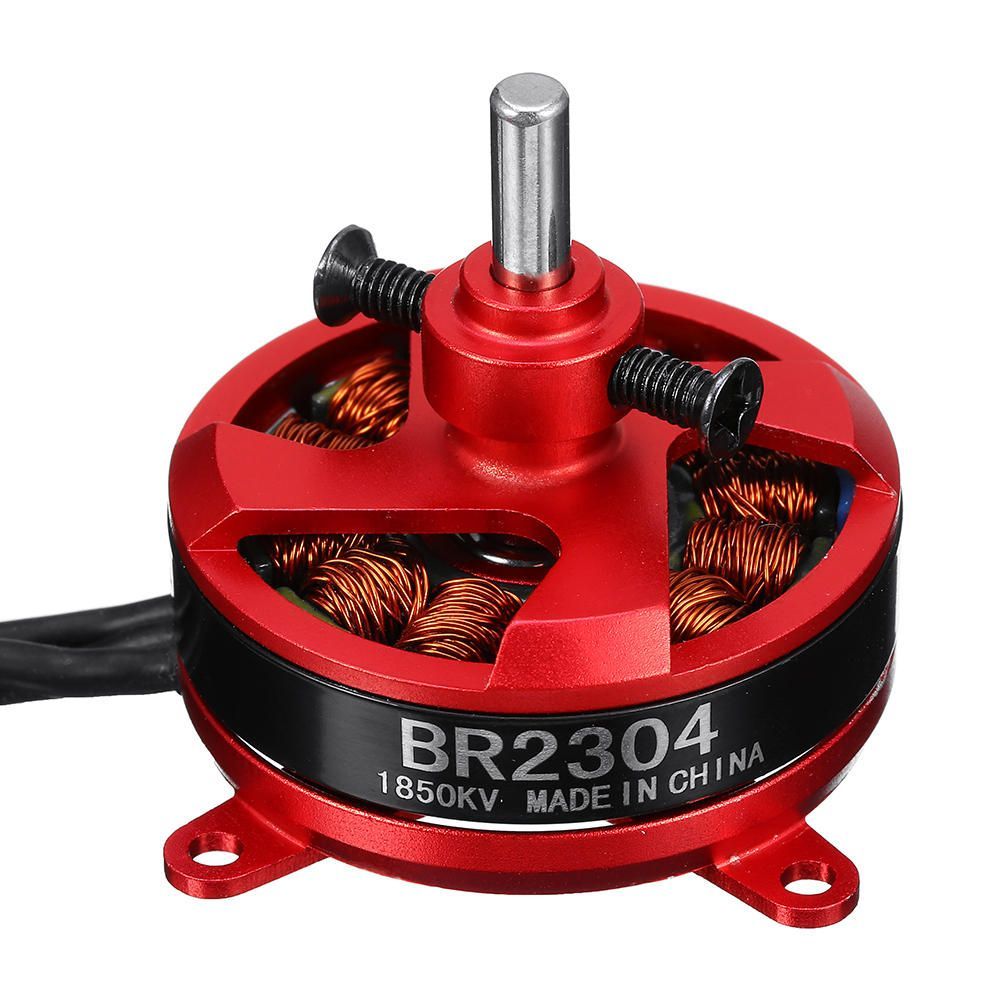
Brushless motor specifications
KV: 1850
Working Voltage: 2-3S LiPo
Weight: 21g

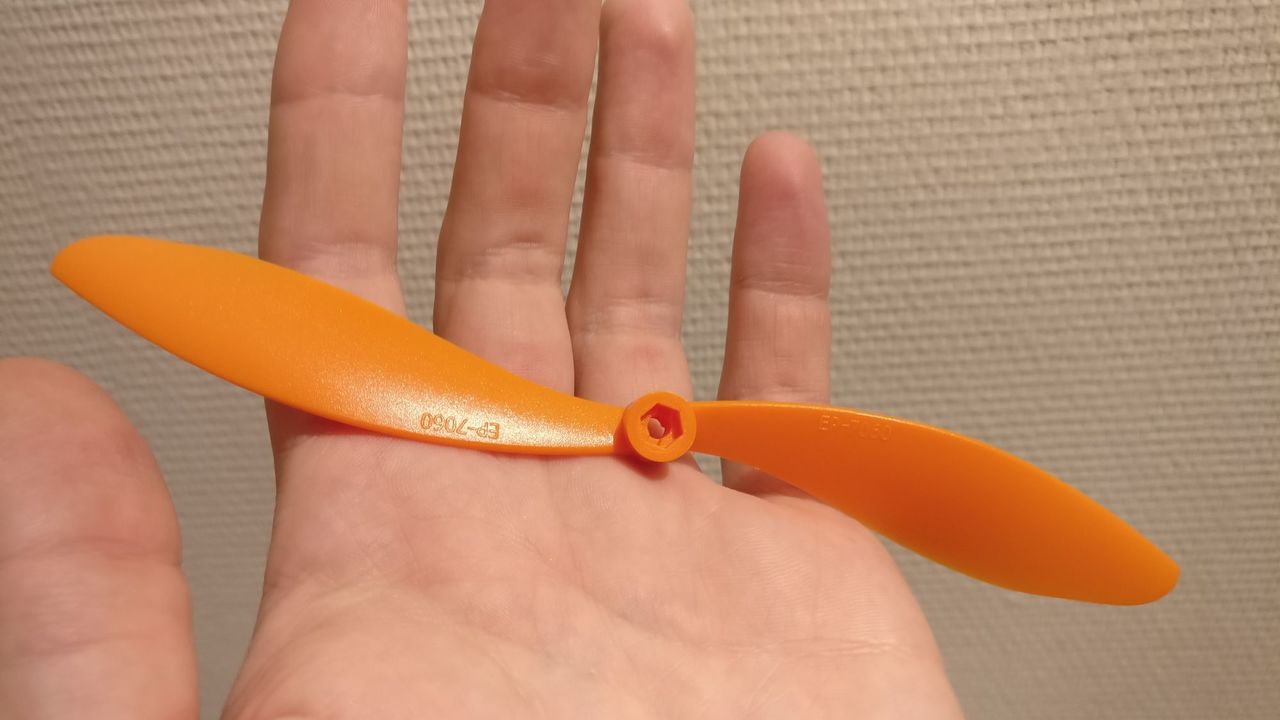
For the propeller, the maker of the wing seems to use a 7x6 propeller. I found some cheap ones, with a 3mm shaft as the motor, but I'm not sure that they are very efficients. I also bought a 8x4 propeller (a lot more expensive), recommended for the motor, but it could be too big to be mounted on the wing.
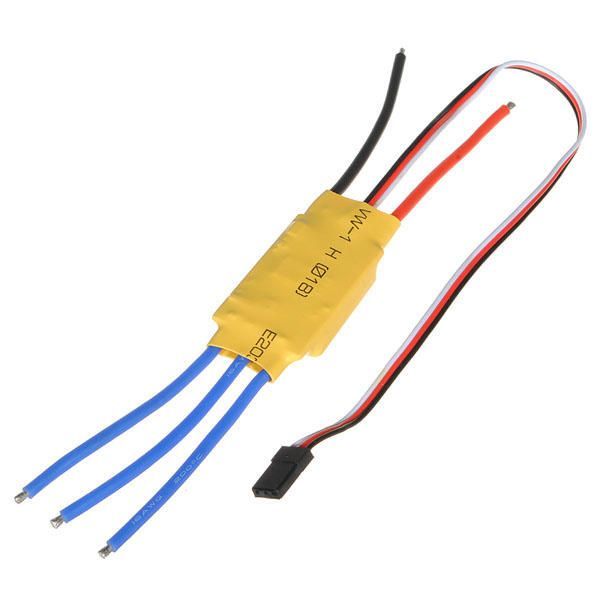
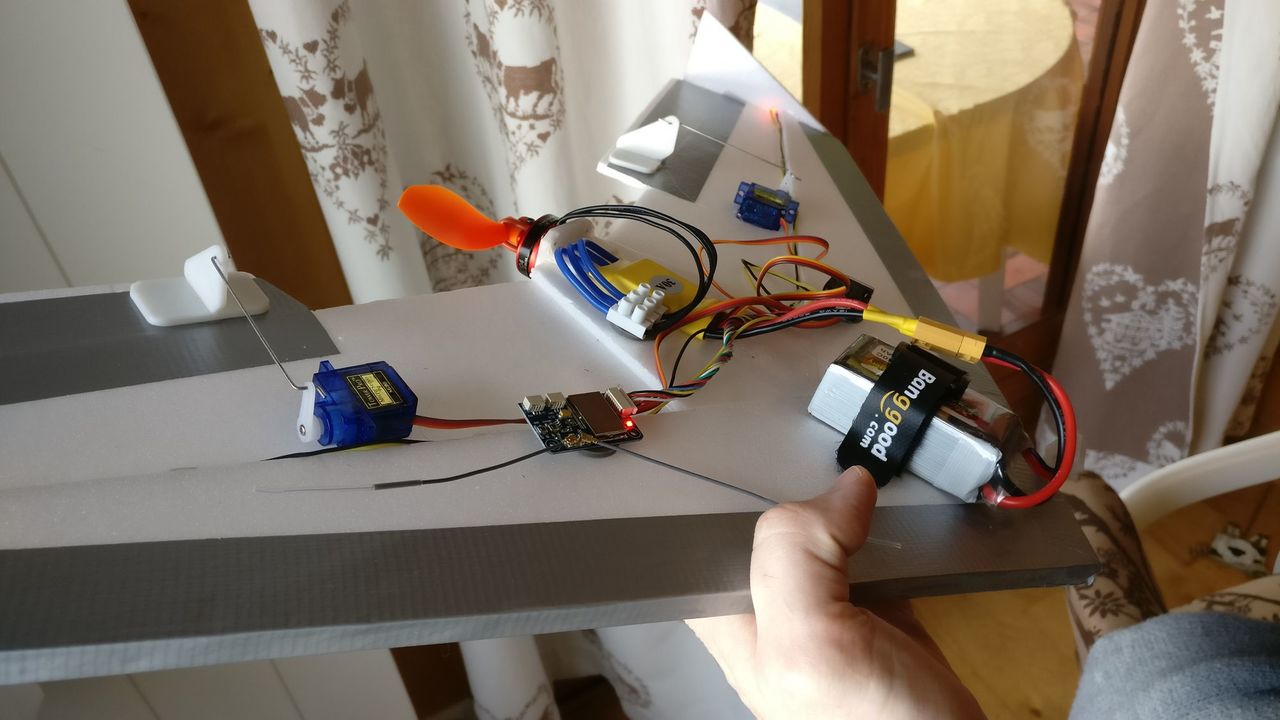
Last part: the ESC. The ESC will be directly plugged on the battery, provide 5V to the RC receiver and the servos, and drive the motor following the orders of the RC receiver.
I ordered a cheap 30A ESC, compatible with 3S batteries. It's more than enough given the specifications of our motor.
The three blue wires are connected to the motor. The Red and Black wires will be connected to the battery. The three small wires are GND / 5V output (called the BEC) and a PWM input to drive the ESC.
ESC specifications
Weight: 25g
Dimensions: 45 x 24 x 11mm
Firmware: Hobbywing
Power input: 5.6V - 16.8V (2-3 cells Li-Poly)
BEC: 2A (4S lipo not allows to use the BEC)
Constant current: 30A (Max 40A less than 10 seconds)
To sum-up:
| Hardware | Reference | Quantity |
|---|---|---|
| Servo | SG90 | 2 |
| Brushless motor | Racerstar BR2304 | 1 |
| ESC | HW30A Brushless ESC | 1 |
| Propeller | 7x6 cheap prop | 1 |
| Battery | 3S 1000mAh | 1 |
| RC Receiver with PWM | FlySky X6B | 1 |
| RC Transmitter | FlySky FS-6X | 1 |
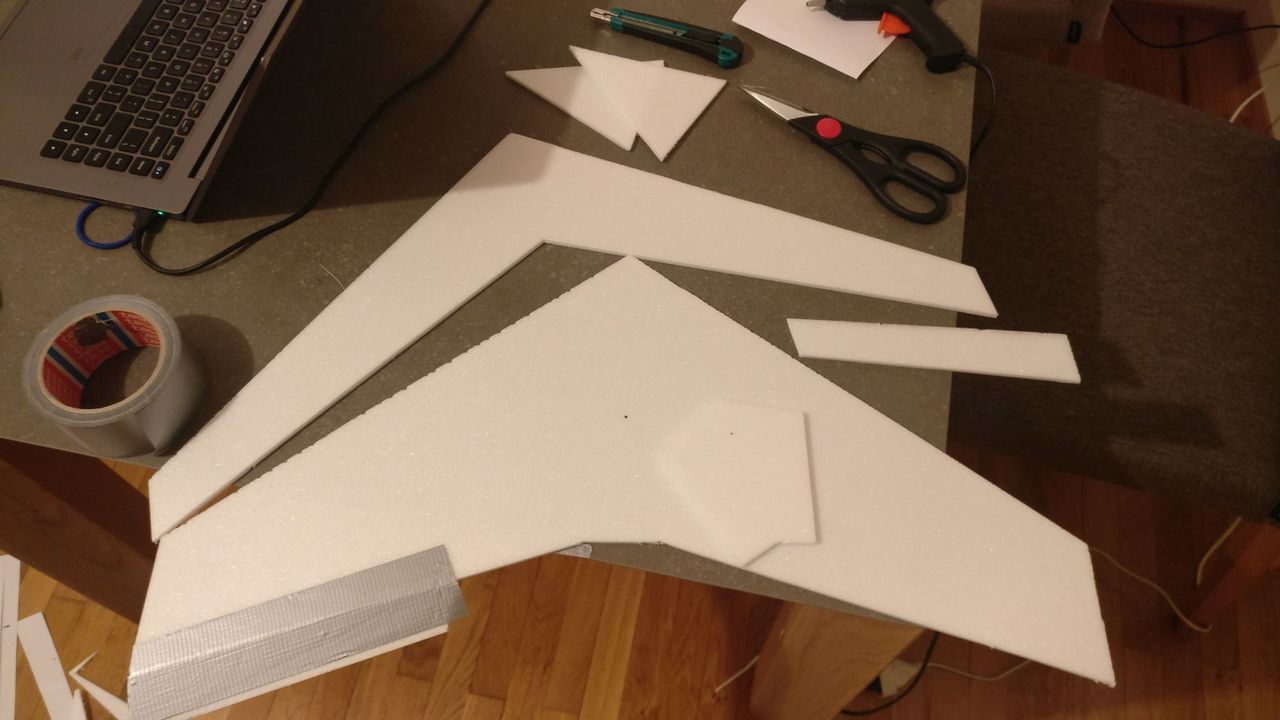
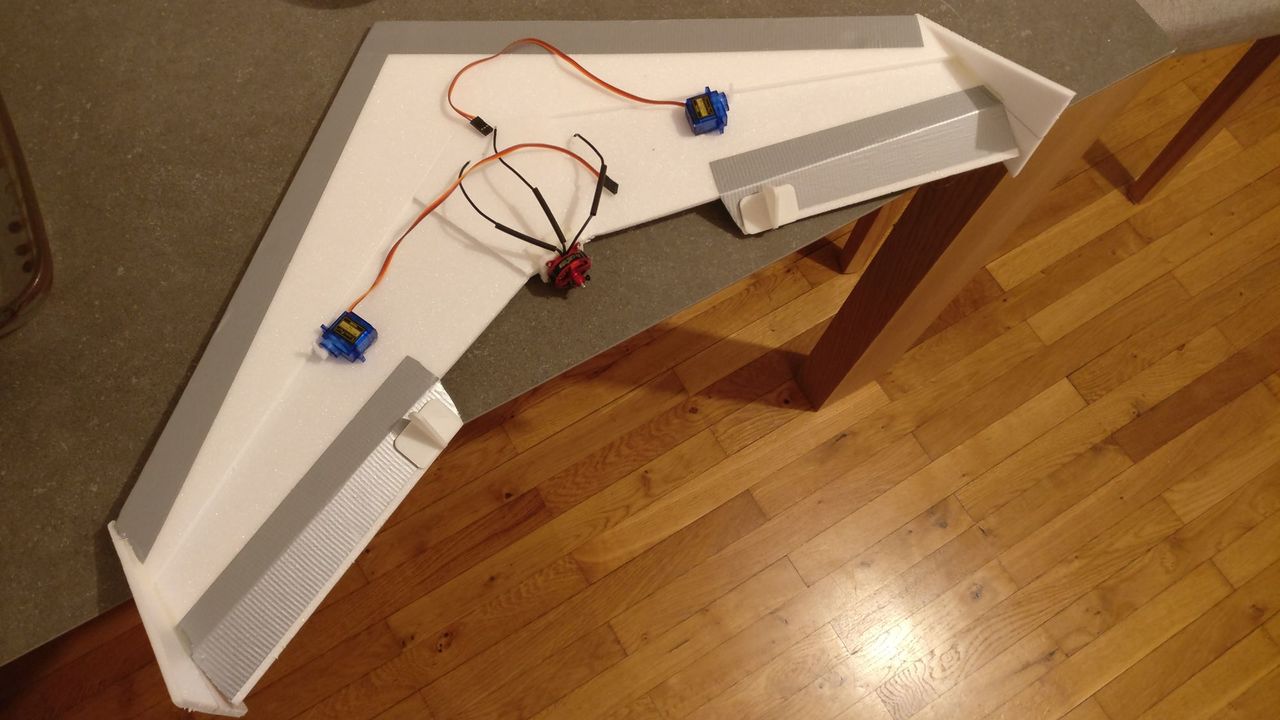
Foam board
I found a 5mm foam bord for 5€ in a shop near my home. It's dimension are TODO. I'm not sure that it's the best foam for this kind of build but it's the cheapest thing.
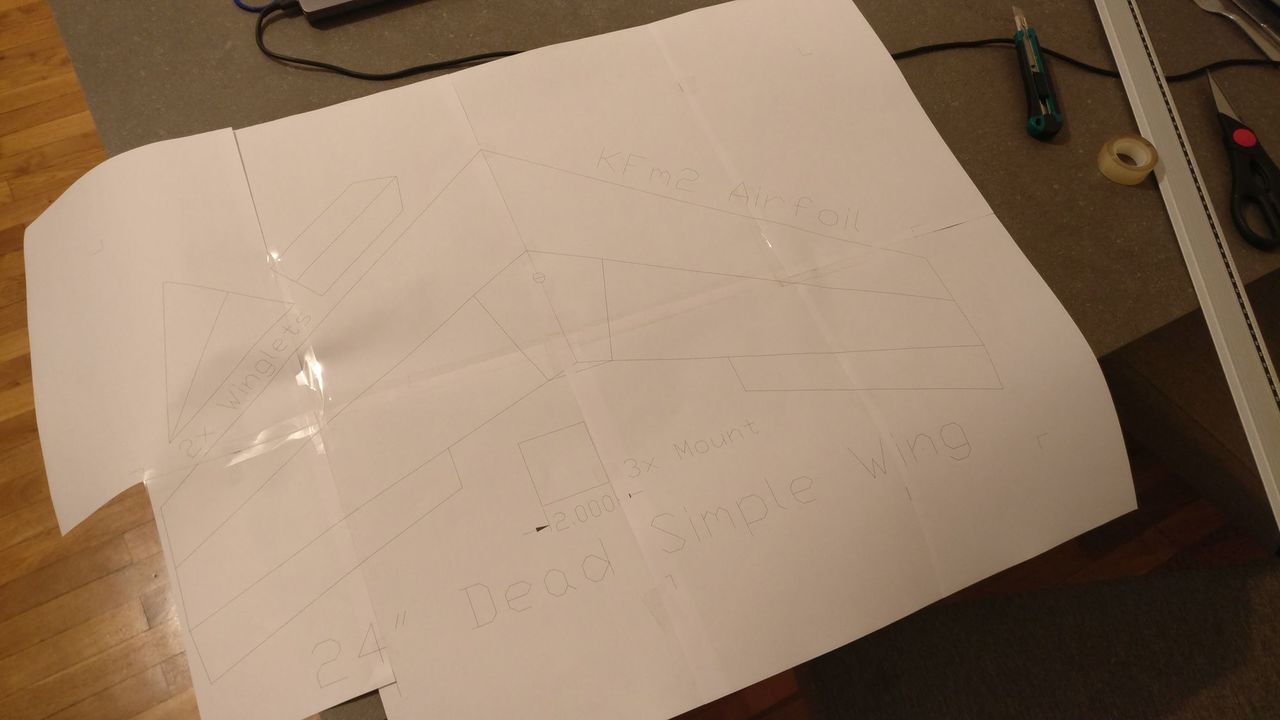
I printed the plan on A4 sheets to stick it to the board before cutting it.
I saw on the forum pages that some makers did a kfm2 or kfm4 wing. I looked over the Internet to discover that it is the thickness / profile of the wing.
I will begin with a simple kfm2 wing, as the plans indicate it.

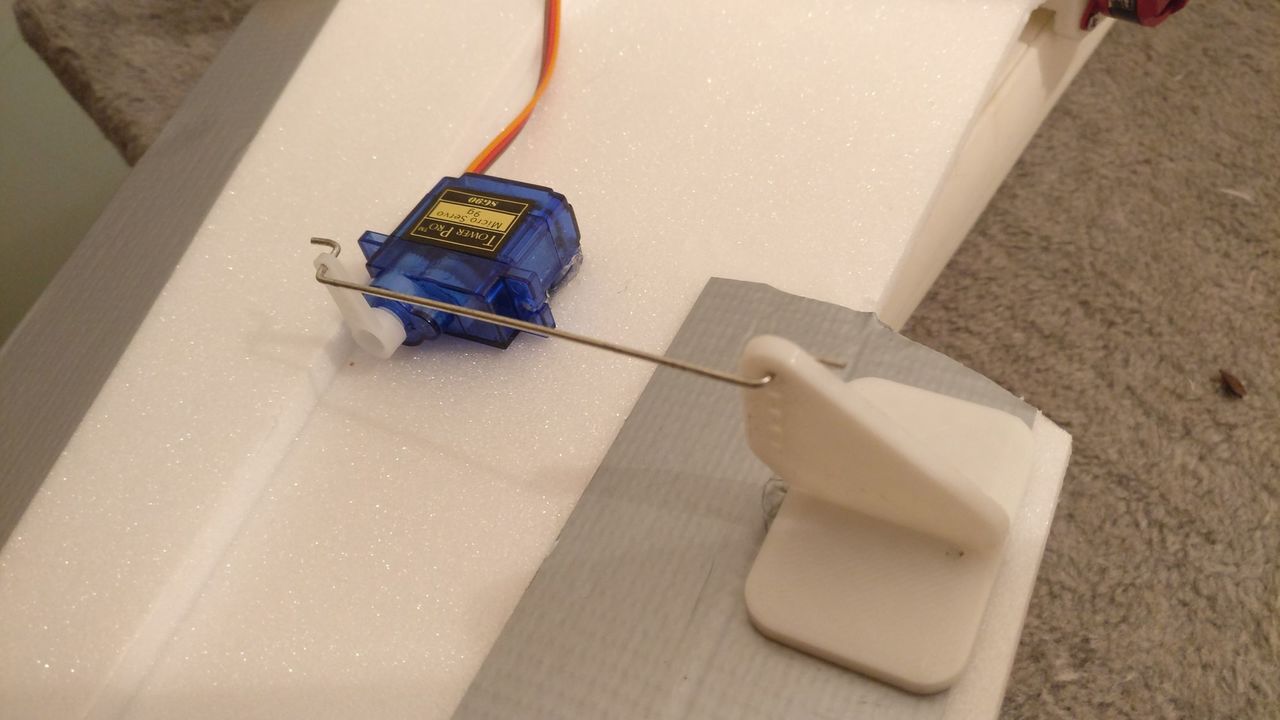
Push rods
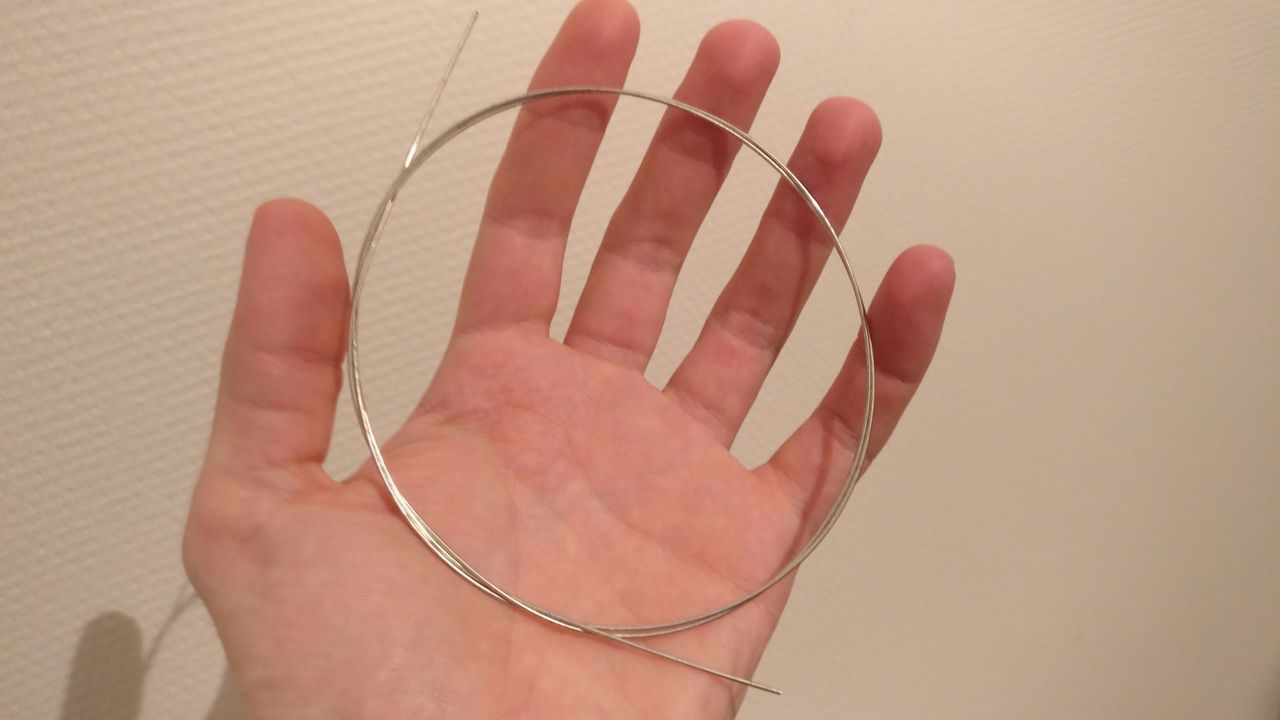
As I'm new to this world, I really don't know what to use as push rods, which are connected to the servos and the ailerons.
I read somewhere that piano wire can be used, that's why I order 1m of 0.975mm diameter wire. And it worked like a charm!
To create the push rods, I followed a YouTube video.
First wiring
To connect the ESC to the RC transmitter, I watched a YouTube video:
It's very simple. The ESC will be powered by the battery, and the ESC will power the emitter and servos with 5V. The ESC has also a 5V PWM input for controlling the speed of the motor. The three ESC output will power the brushless motor.
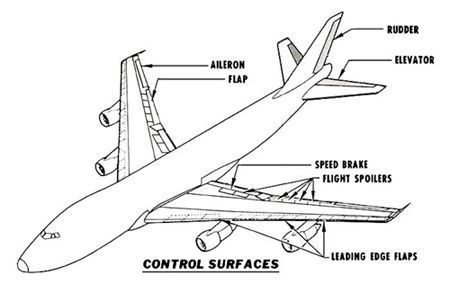
On the RC receiver, you will find (in my case) 6 PWM channels, Vcc and GND.
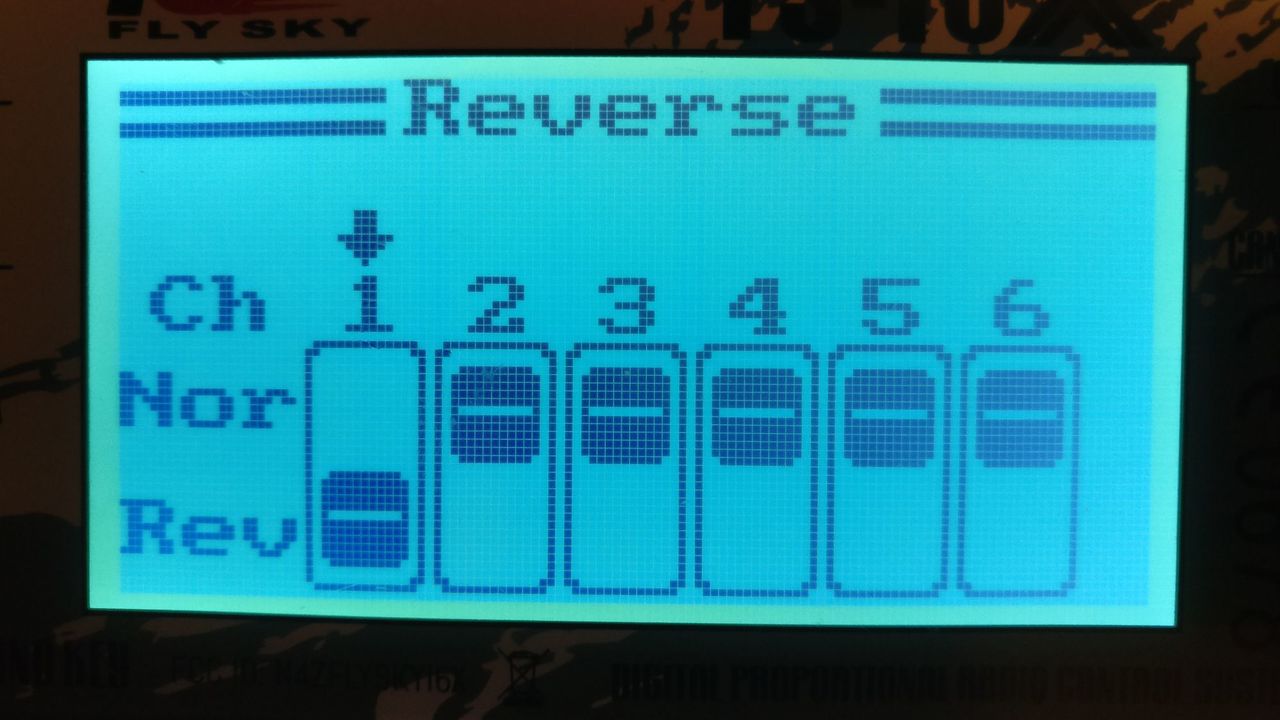
I had some difficulties to find which channel represent each component. Finally, I found this picture:
The two first channels will be used by servos (we will mix aileron and elevator values for the two servos), and the third one for the propeller.
Transmitter settings
That's the first time that I use my new FS-i6X.
It was easy to bind the receiver and the emitter. You just have to power on the receiver will holding the bind button, then switch on the transmitter.
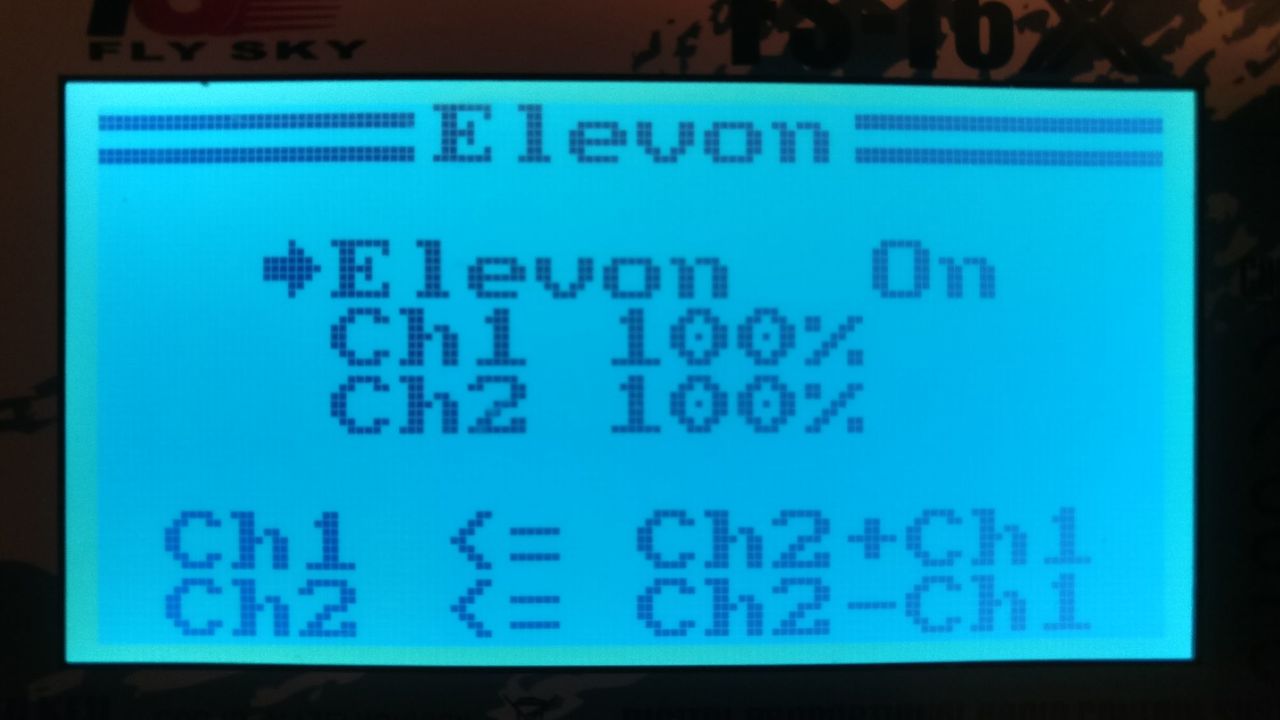
Channels
Once that's done, I had to configure the transmitter to mix the channel 1 and 2. Indeed, the wing doesn't have proper ailerons/elevators. The data of those channels will be mix to control the two servos.
Note: to save a value in the transmitter settings, you have to hold the "Cancel" button. Yes, that's weird....
Dual rate / expo
I found a video explaining the dual rate and the expo.
The dual rate reduces the range of movement available to the servo.
The expo changes the relationship between stick movement and surface movement by creating a curve. When set, the stick movement and surface movement are not longer linear.
As I'm not used to control RC planes, I smoothed the controls with an expo of 80% and a dual rate of 25%.
Throttle curve
This function enables the user to adjust the ratio between stick and servo movement using a linear line or non linear curve.
I didn't changed it!
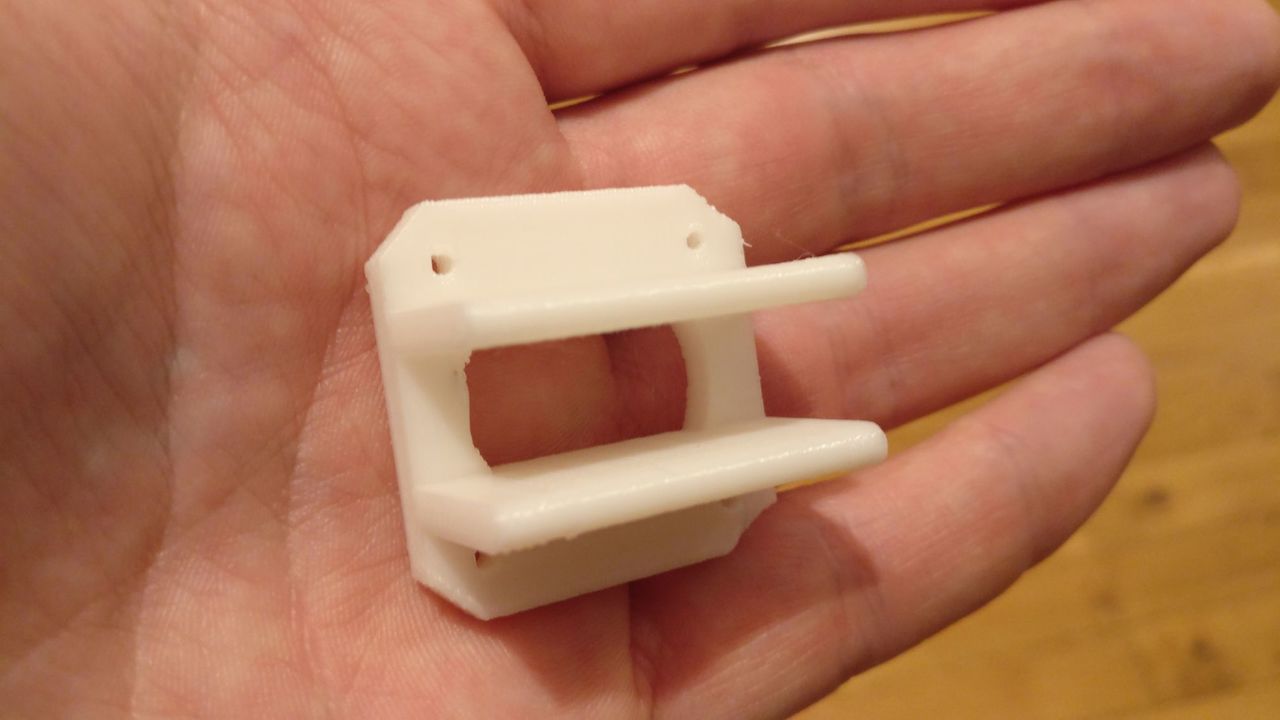
3D printed parts
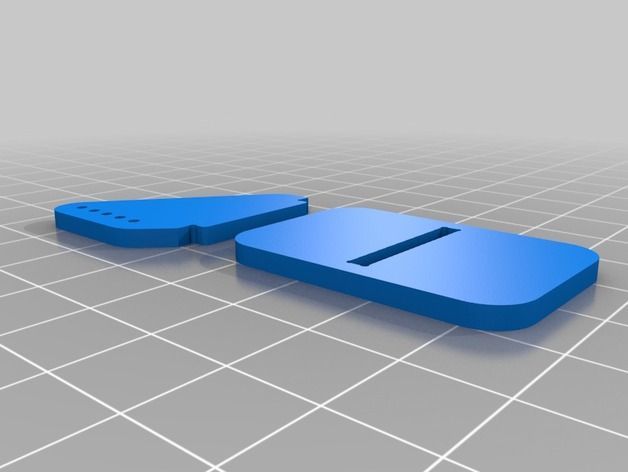
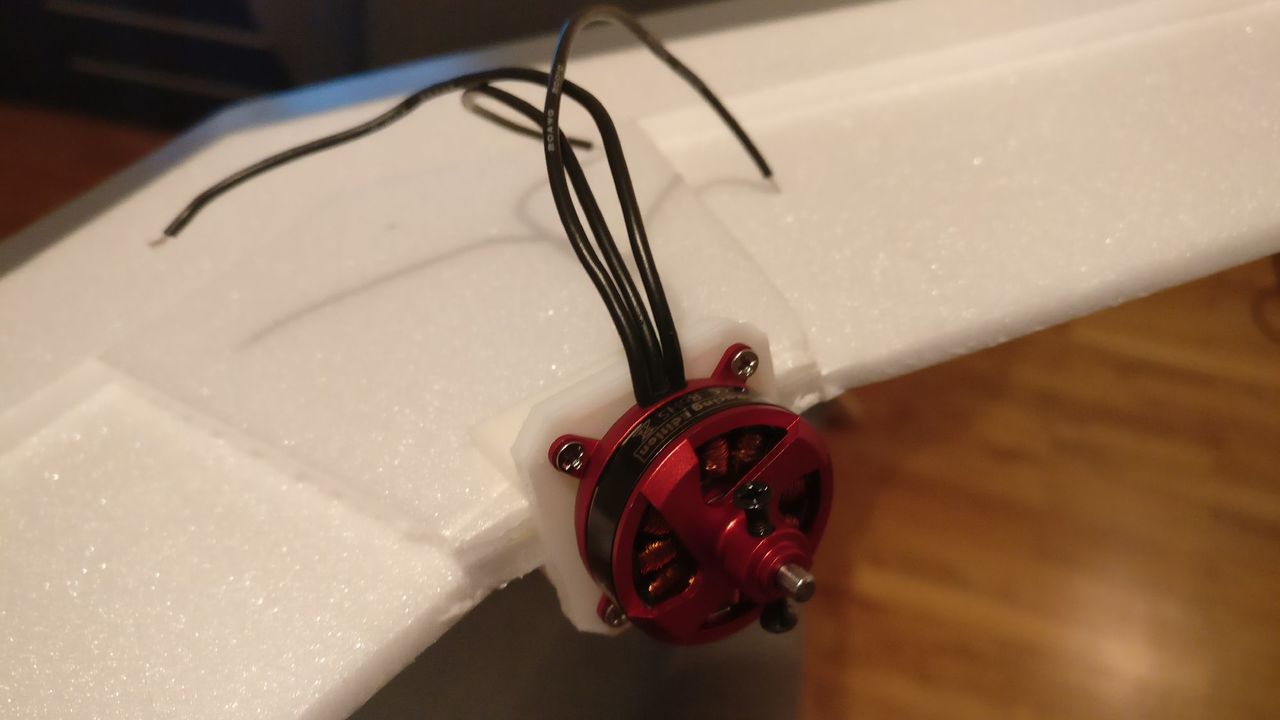
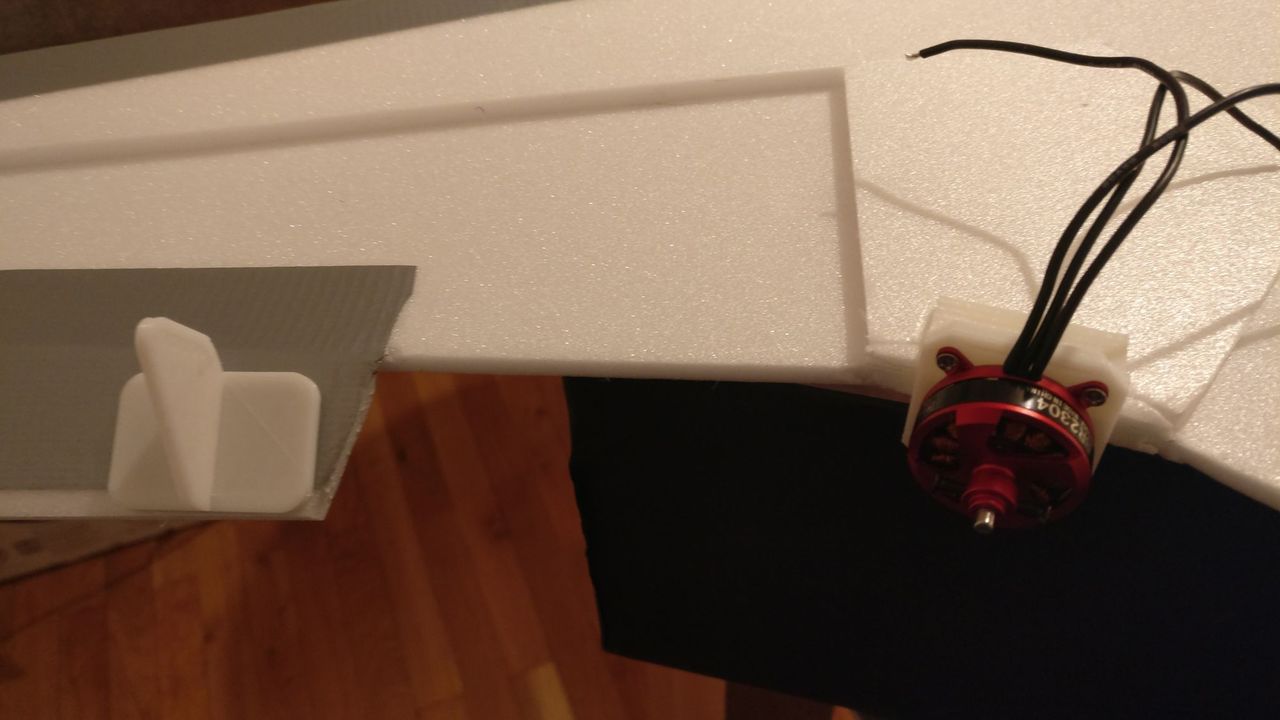
A lot of assembly use wood and foam to mount the motor. I tried to design and print a plastic part for the motor, glued directly on the 2 layers foam (1cm thickness).
I designed it to be able to print it without supports. It should be printed on a defined position to have enough strength to hold the motor.
I printed it in PLA, but I will also print one in PETG to have a strongest backup :)
I also downloaded a aileron horn from thingiverse.
Assembly
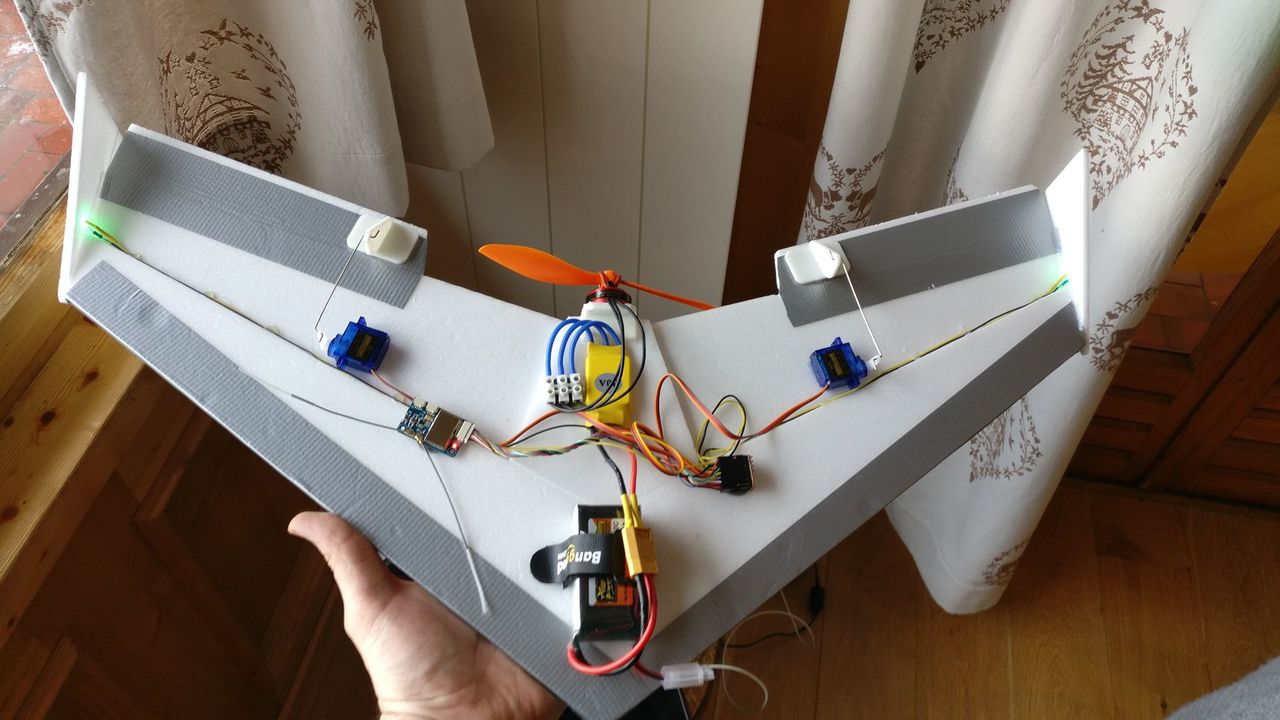
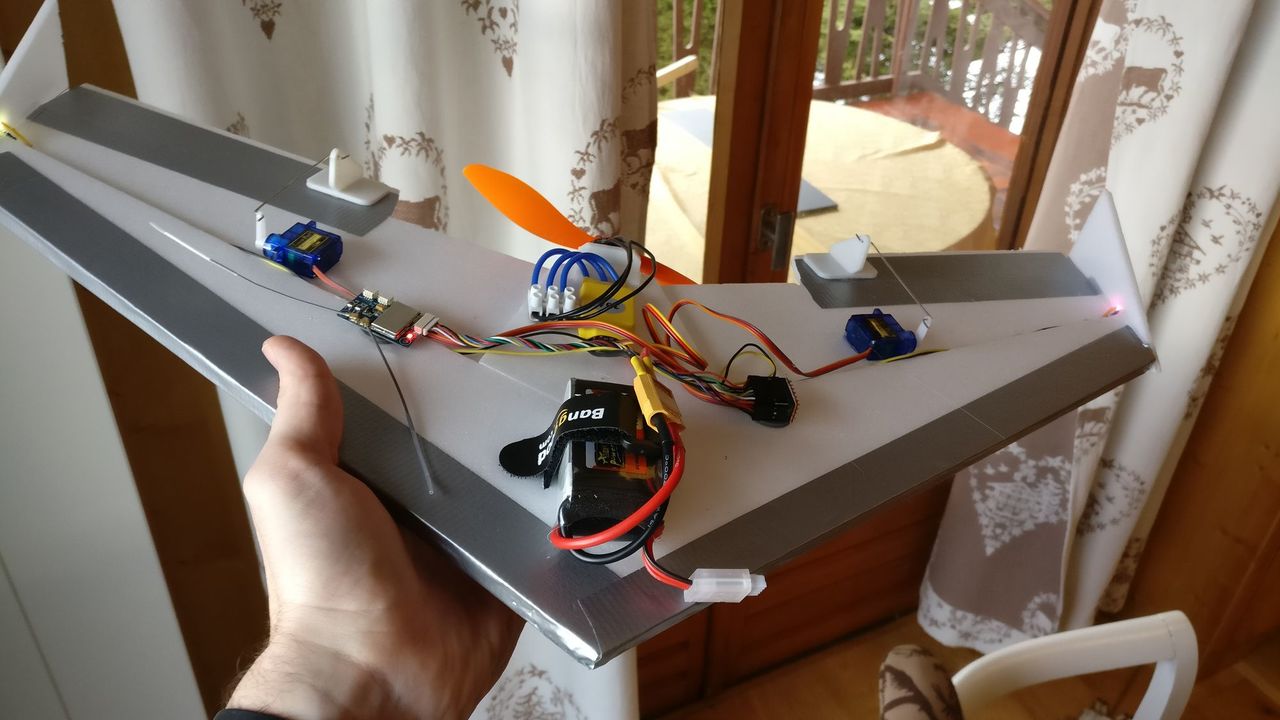
Please note that order some bullet connectors but I didn't received them yet.
ESC / Motor de-synchronizing
The first motor test was quite disappointing: on half trust the motor do a quite high sound.
I discovered that the ESC are programmable, and some of them can be configured by moving the throttle an hearing beeps.
The first test was to calibrate the ESC throttle range (different for each controller). I did that by following this YouTube video:
Sadly, it didn't resolve my issue. I read somewhere that the motor can make this noise if it's de-synchronized with the ESC.
As the ESC that I have is programmed with a HobbyWing firmware, I looked for an online manual.
I tried to change the timing of the ESC to "medium". I also re-did the throttle range calibration and... it worked! The motor works from low to high throttle without issue.
ESC brake
I also enabled the ESC brake functionality.
Maiden
Some things I thought myself with the first crashes:
- The wires of the servos should not be too tense. They detached from the servo PCB after few crashes.
- Use more glue and more tape to attach the components :)
- Test the controls after each crash before throwing it again (it will avoid you another 100% guaranteed crash)
- Learn to trim the ailerons (after some repairs, the ailerons were not exactly in sync)
After few launches
I broke the wind and repaired it more times that I can count, with a lot of glue and tape.
Once, I did a 15 seconds flight. Sadly, nobody recorded it. I felt an adrenaline rush; it was so cool!
Some crashed after that, it was the end of the wing. Yes, it was too complicated to fly for a beginner, but I did not regret it. I learned a lot and I'm happy that I did that on a cheap home made build. I spend few hours documenting myself, it was not too expensive, I liked building the wing, seeing it taking shape, and sharing this moments with my family.
This first experience gave me the desire to build another aircraft, but for beginners this time, even if it means taking more time to build it.