The breadboard
Let's discover breadboards in usage and in pictures.
Few days ago, I received my first breadboards !
It seems that breadboards are essentials to prototyping electronic circuits.
It's important to understand how they work, and even better, how to work with :)
After few readings, I will try to summarize it for you.
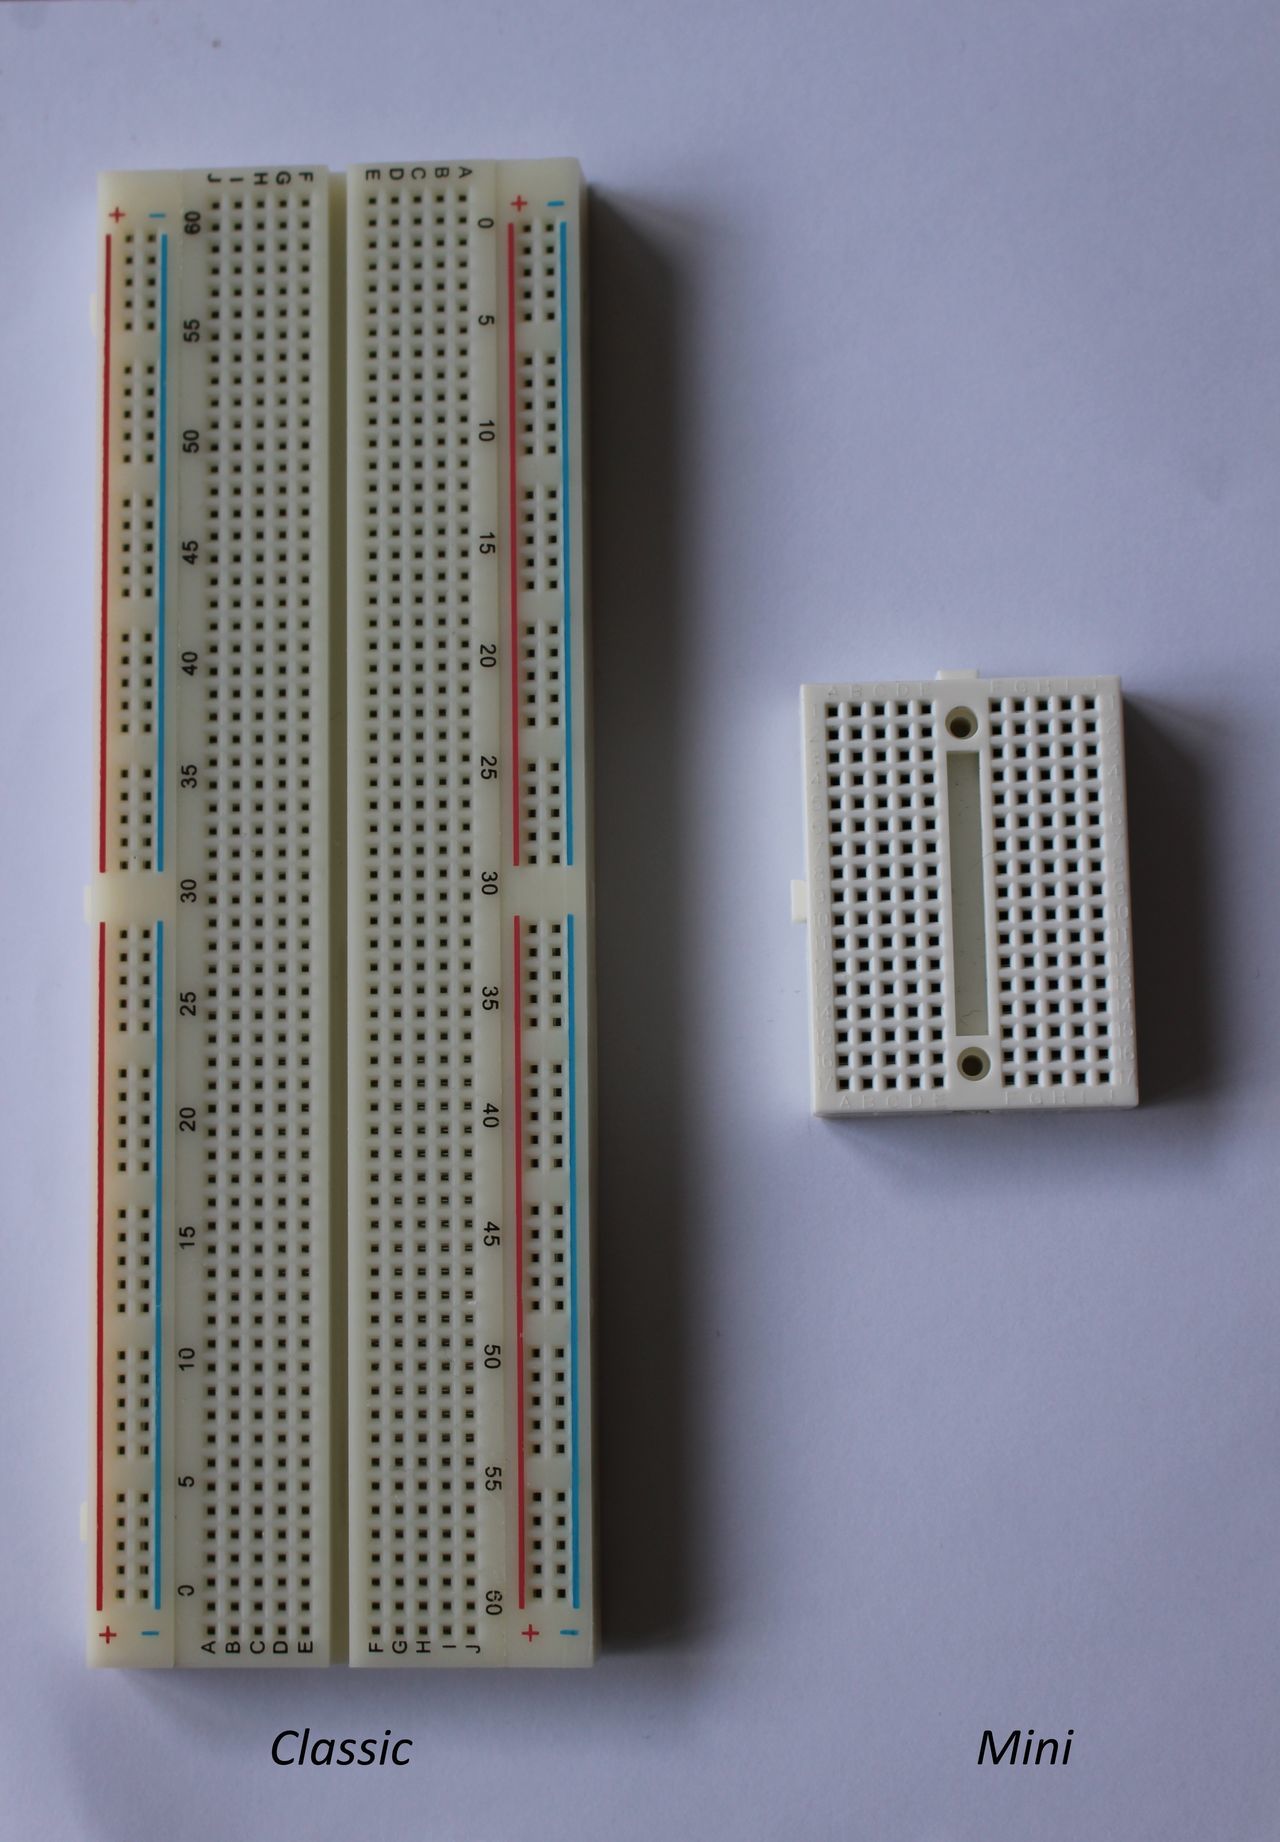
I bought two breadboard, a classic and a mini.
Here are the beasts :
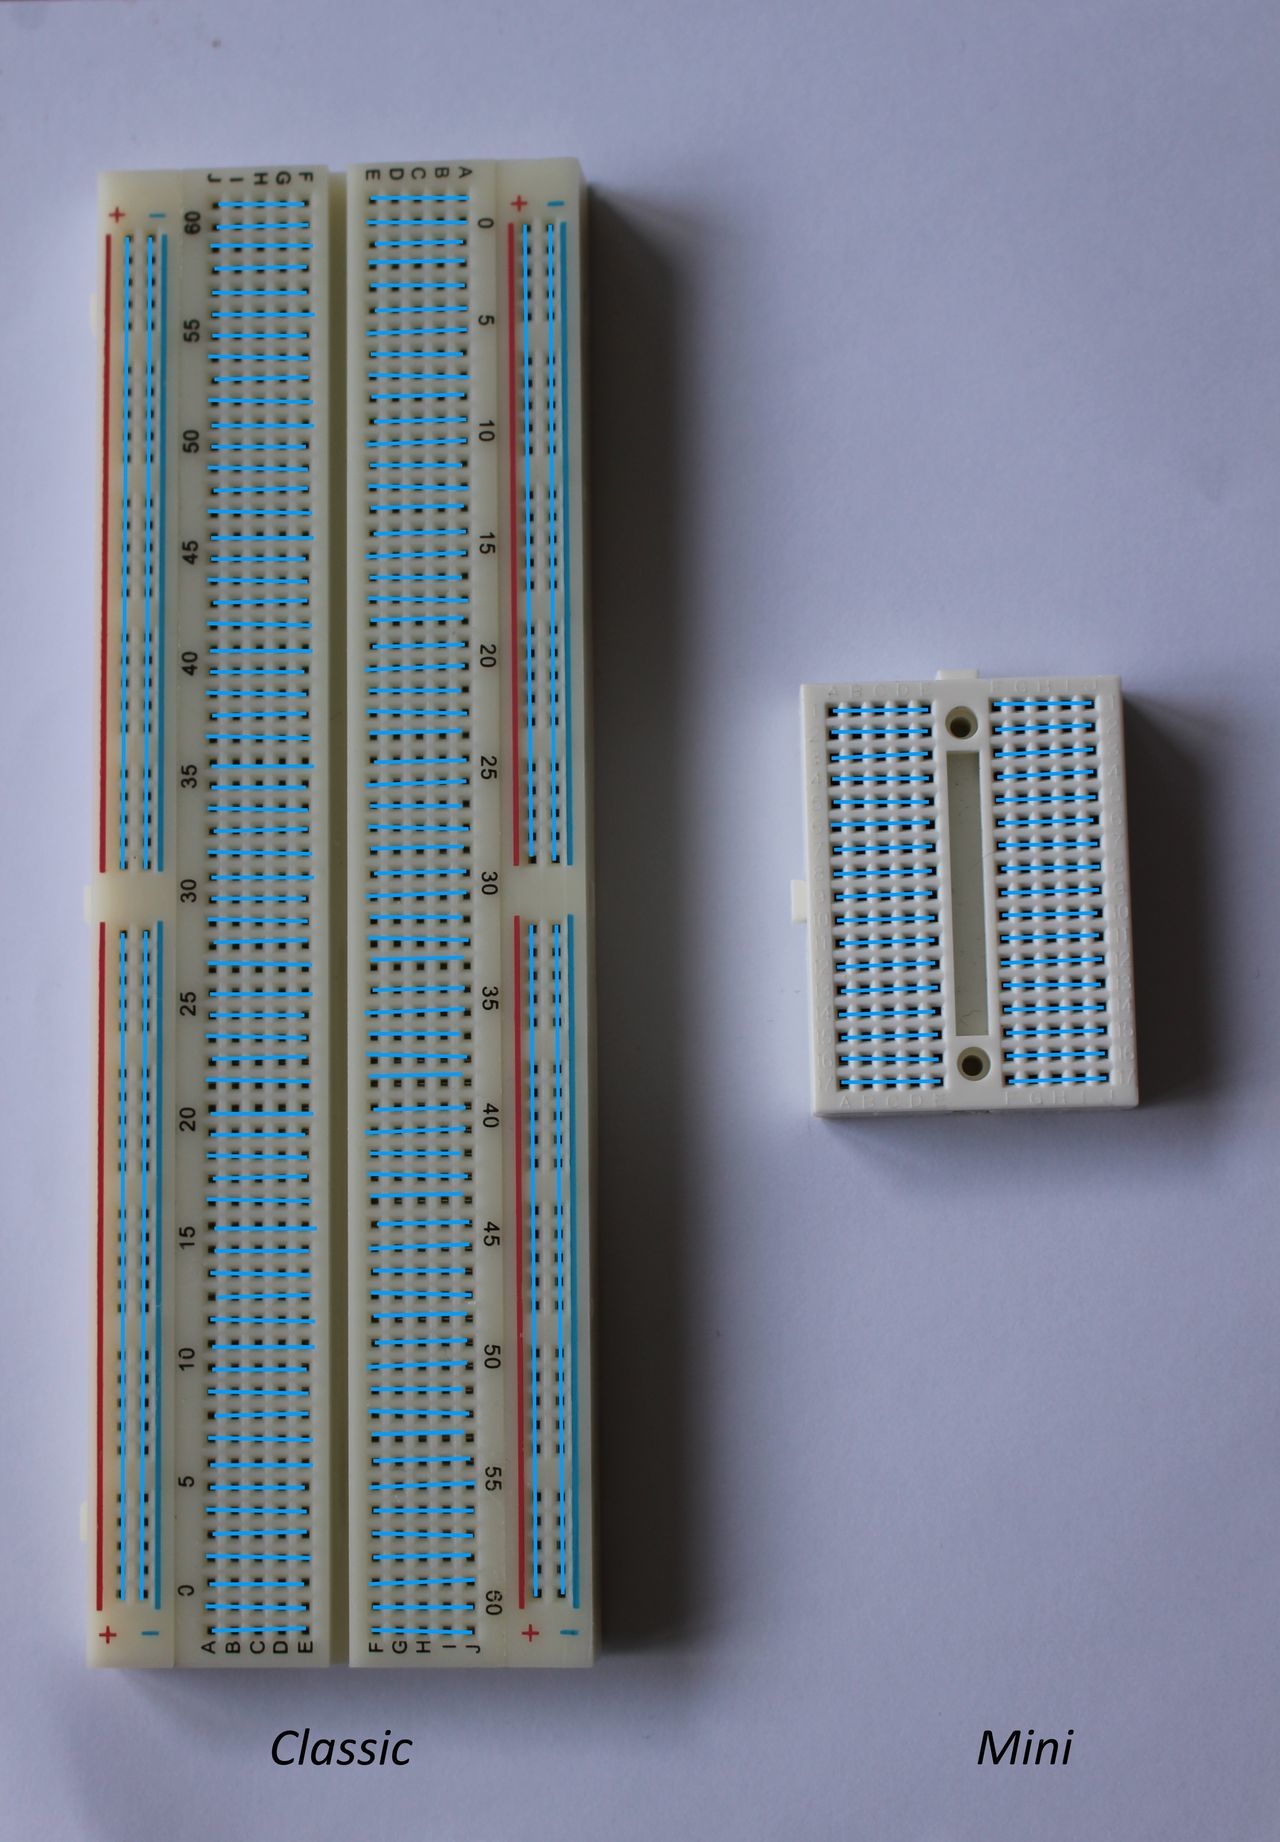
In reality, the holes are linked on each line.
On the classic, there is an exception : on both sides, there is two columns.
On this image, connections are in blue :
The mini breadboard can be bought on Sparkfun website.
It is cheaper than a classic one, and is sufficient for small circuits.
It's easy to use !
Use case
Now that we know how connections are made on a breadboard, it seems to be some basic rules to not going crazy and avoid to burn stuff :D
For starters, on the classic breadboard, we have the two columns on the left and the right of the card.
These columns are intended as power columns.
As such, it's common to put Vcc and GND on those columns.
You can also link left and right columns to have Vcc/GND on both sides of the breadboard.
But I don't have a DC generator, and after looking at the price, I'm not gonna have one anytime soon.
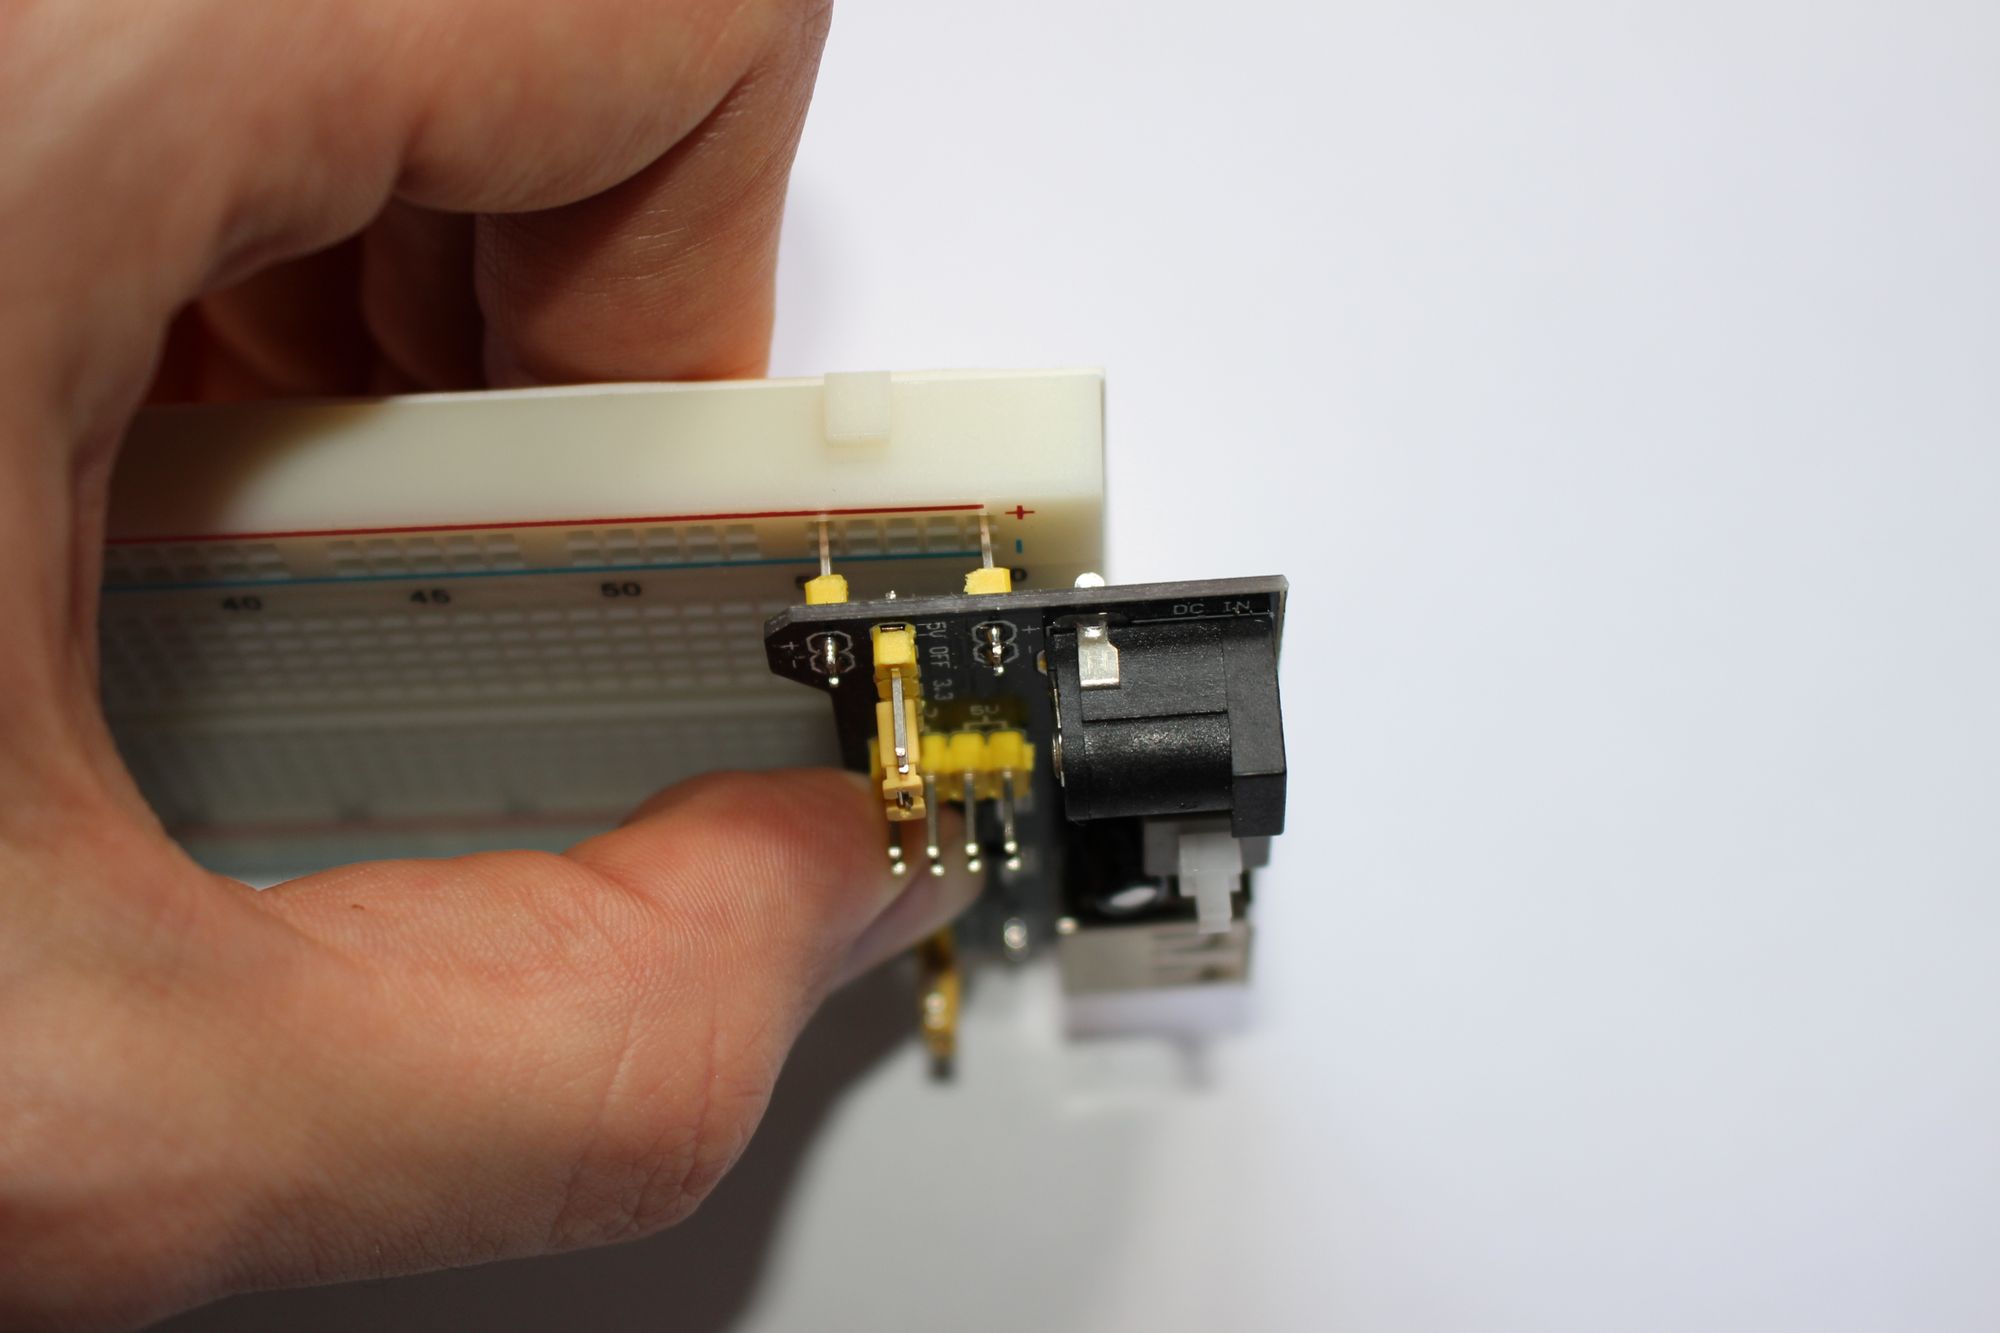
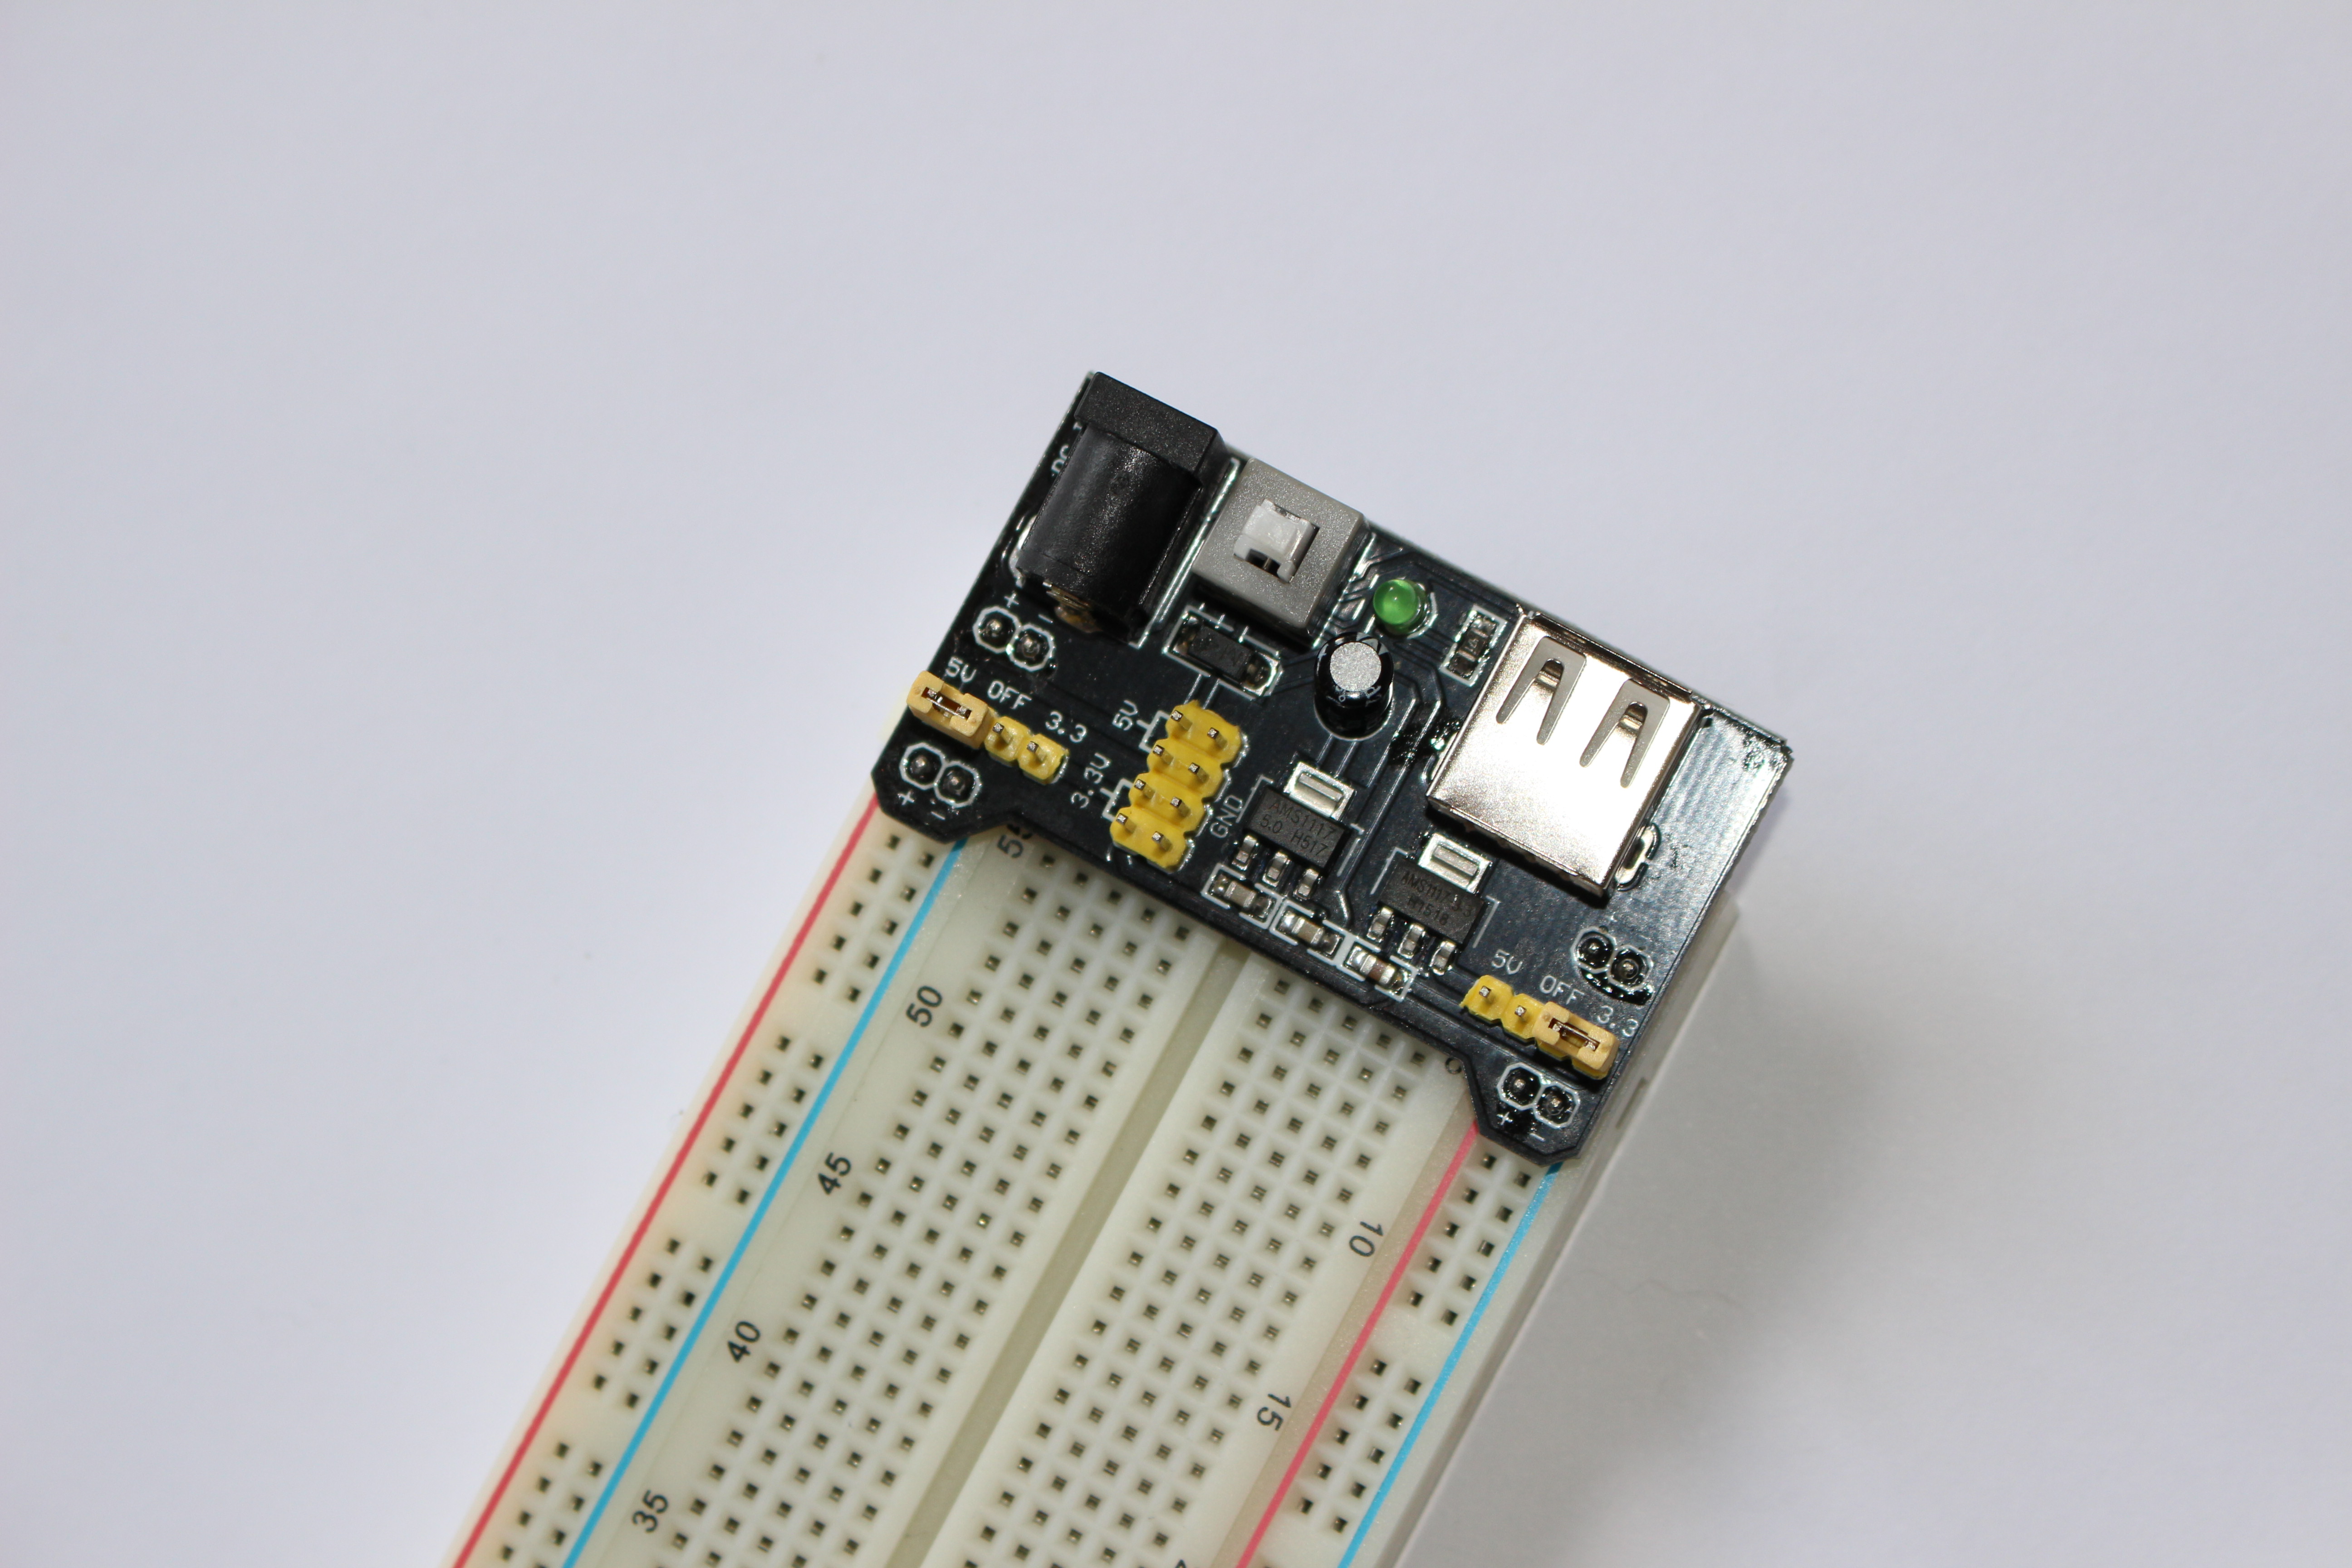
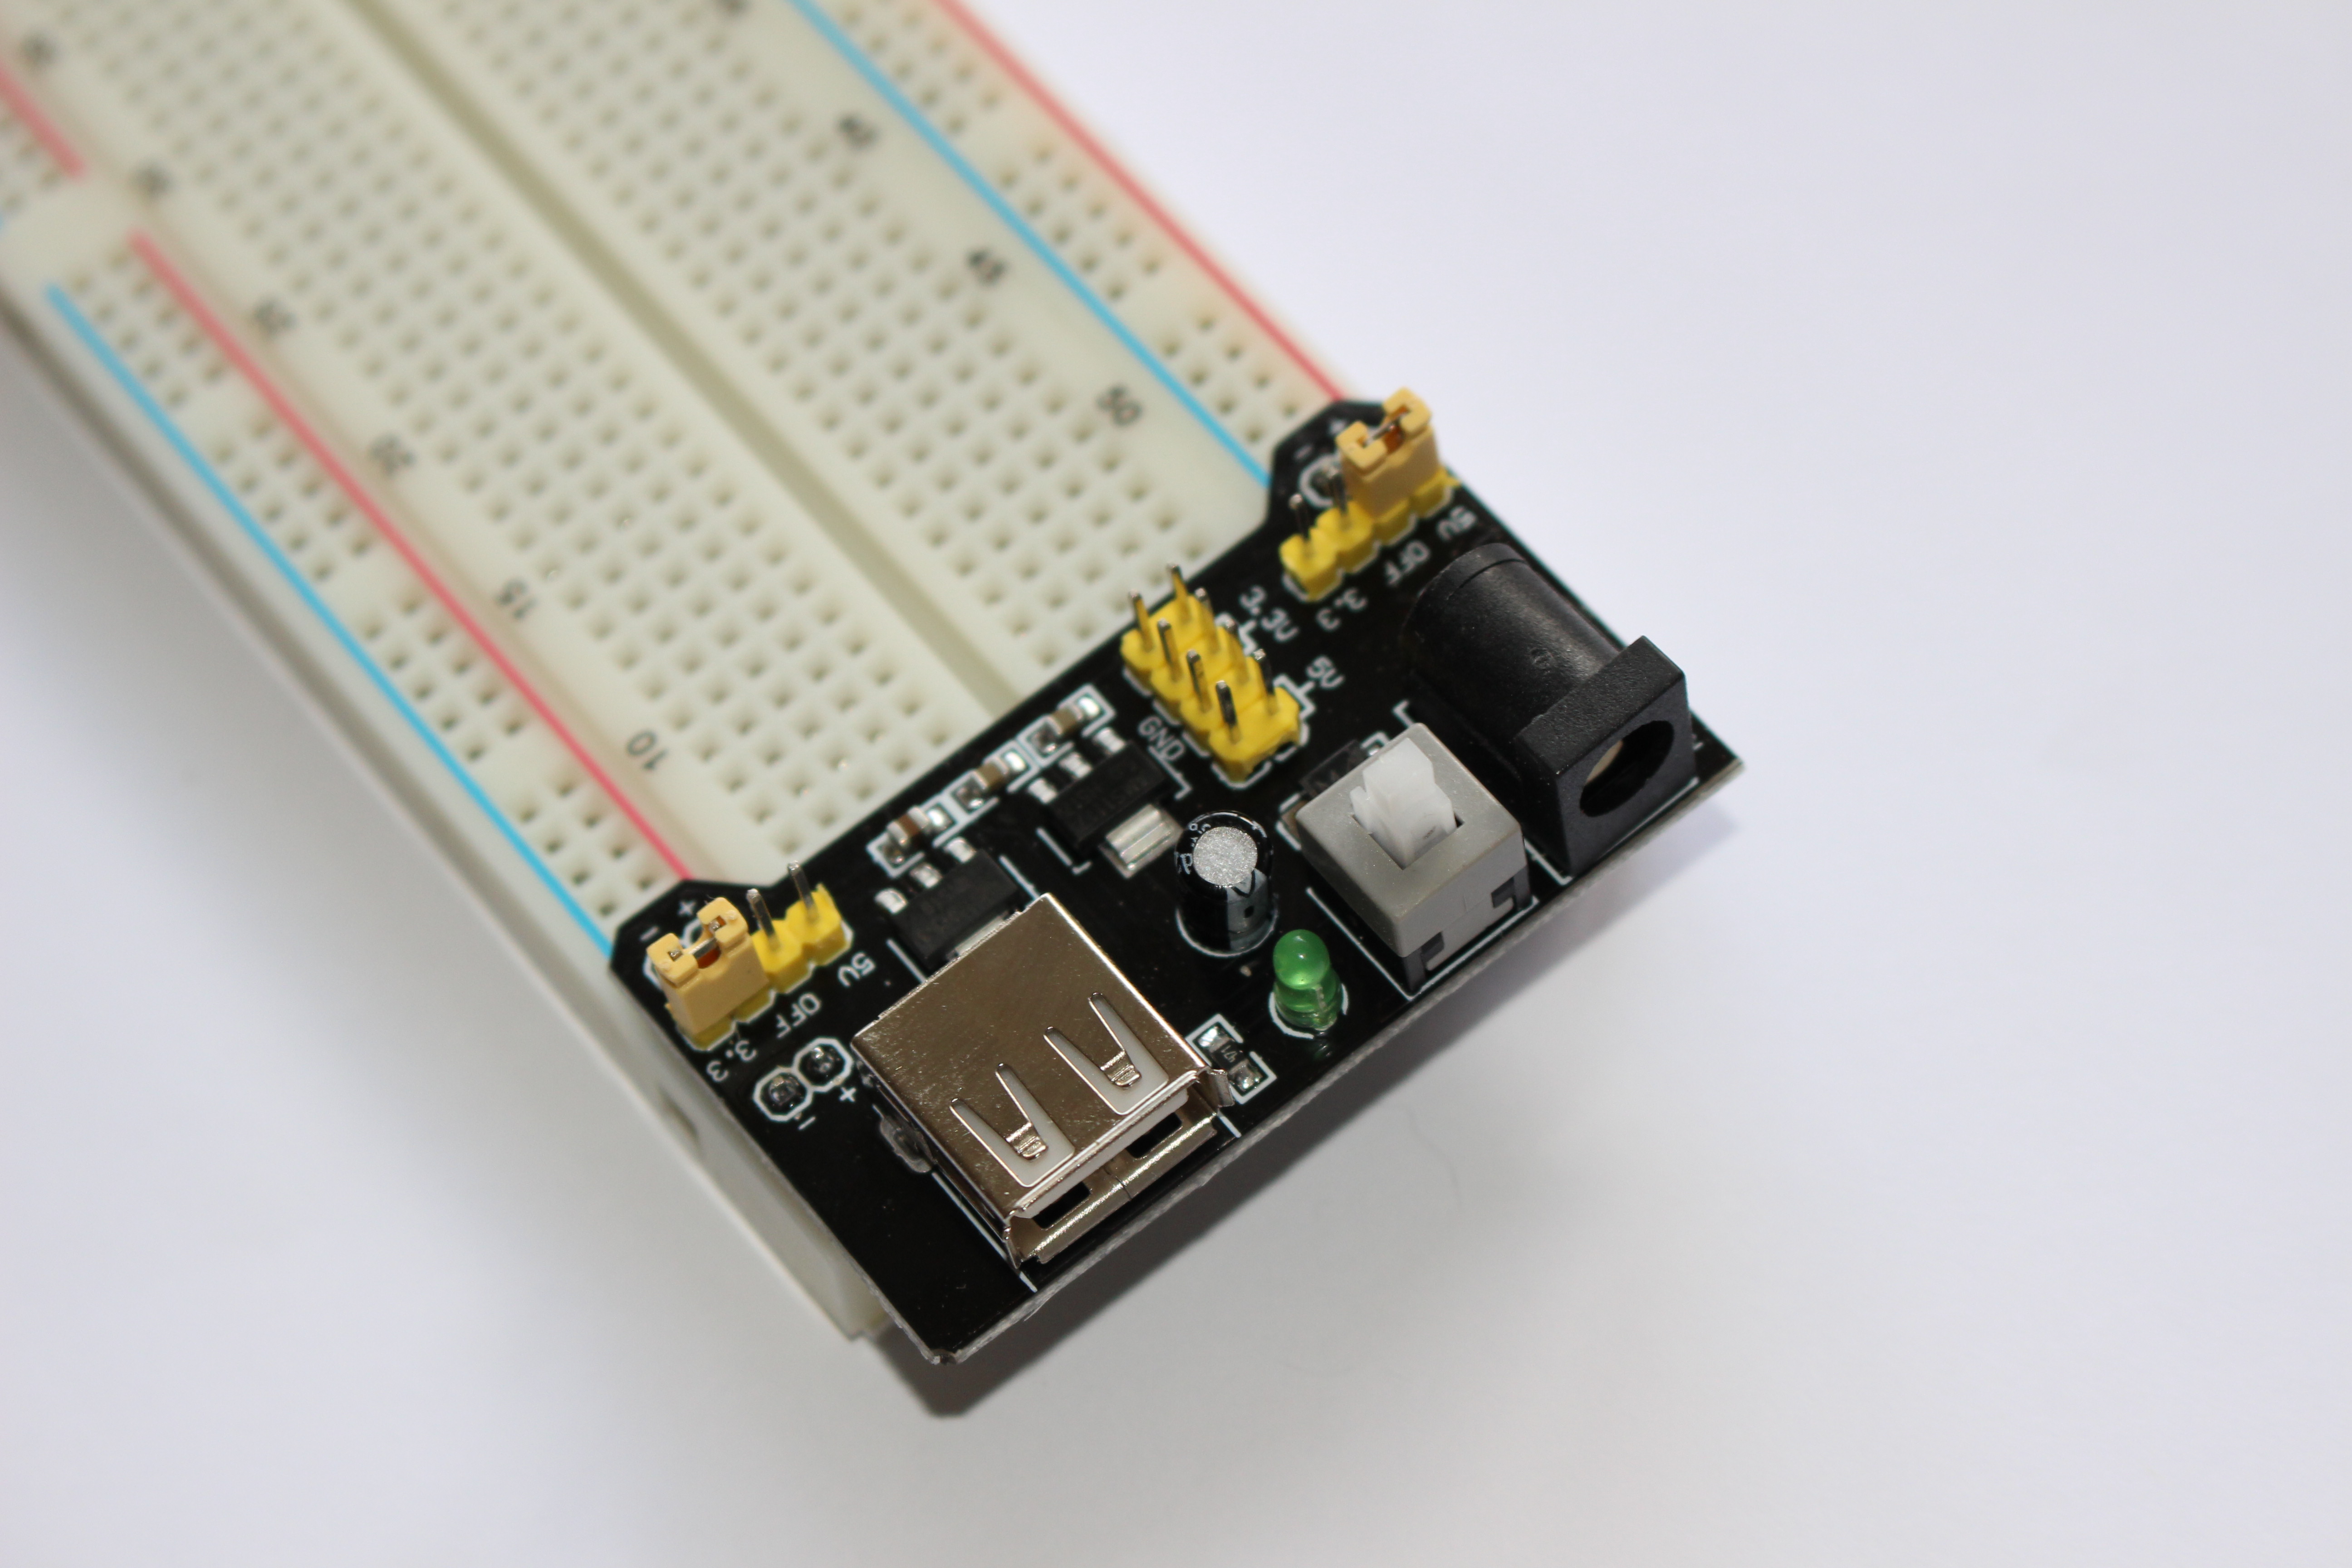
So I also bought a small circuit, which transforms an 9V input to an 5V and 3.3V output.
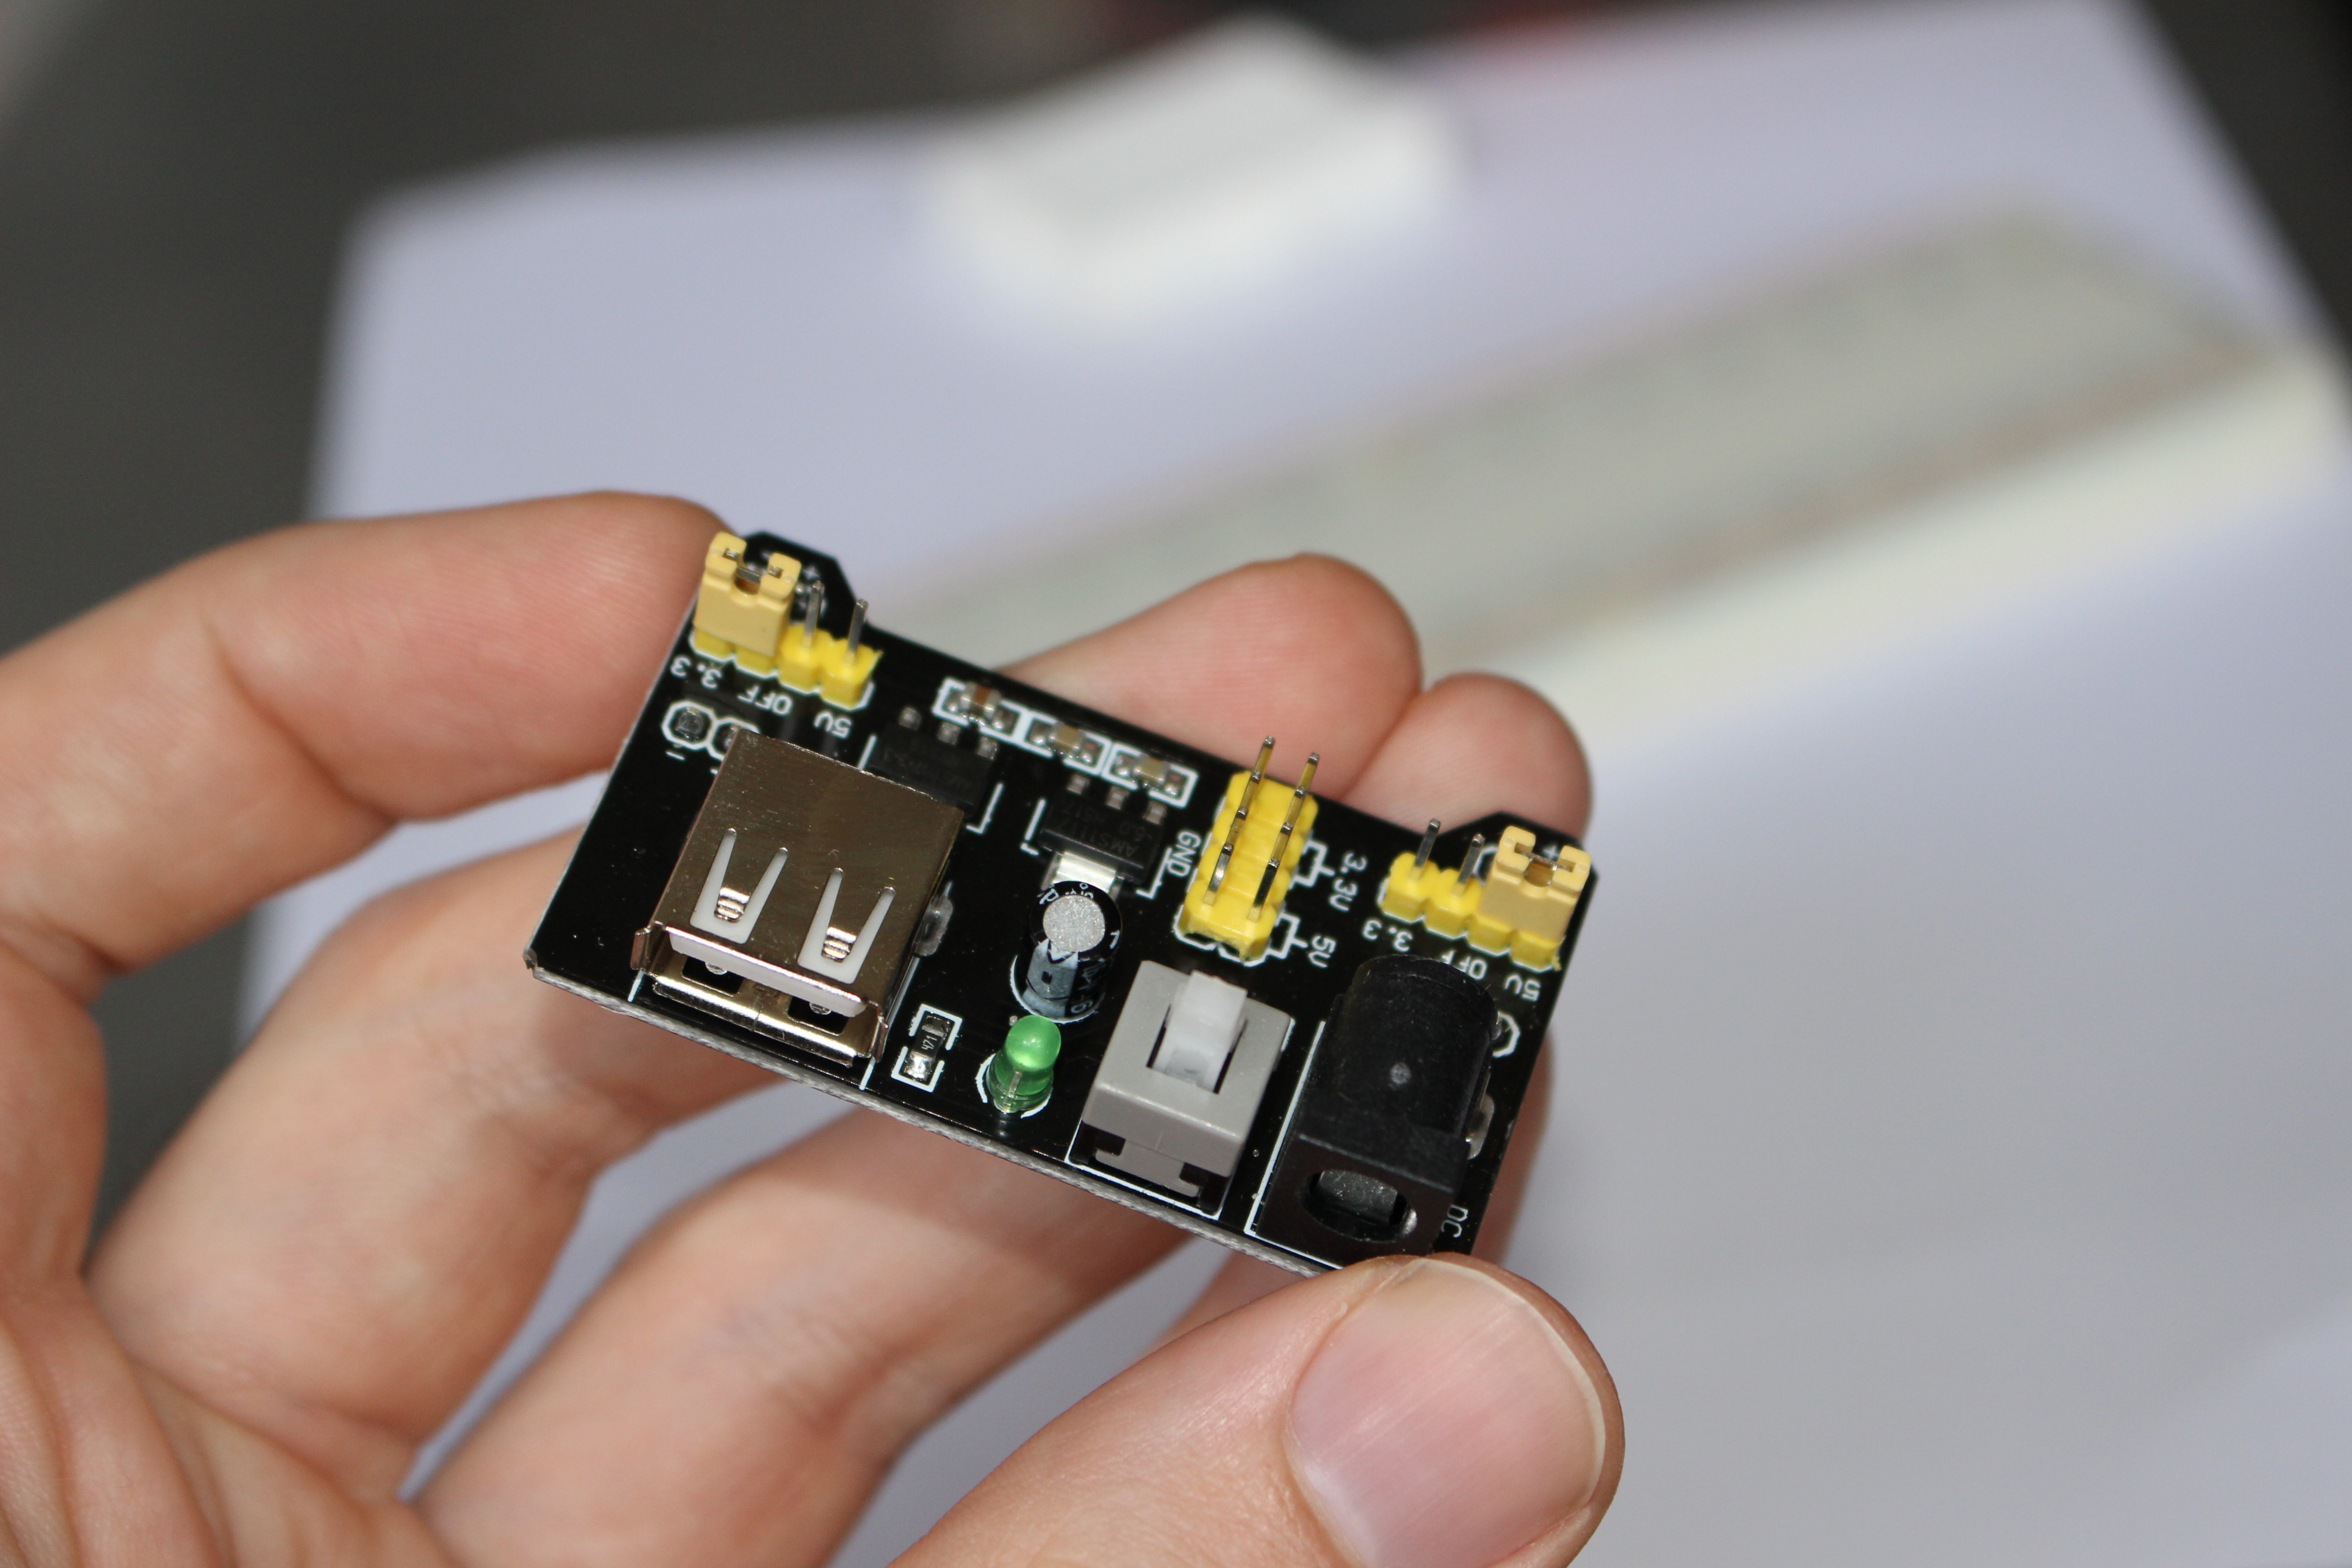
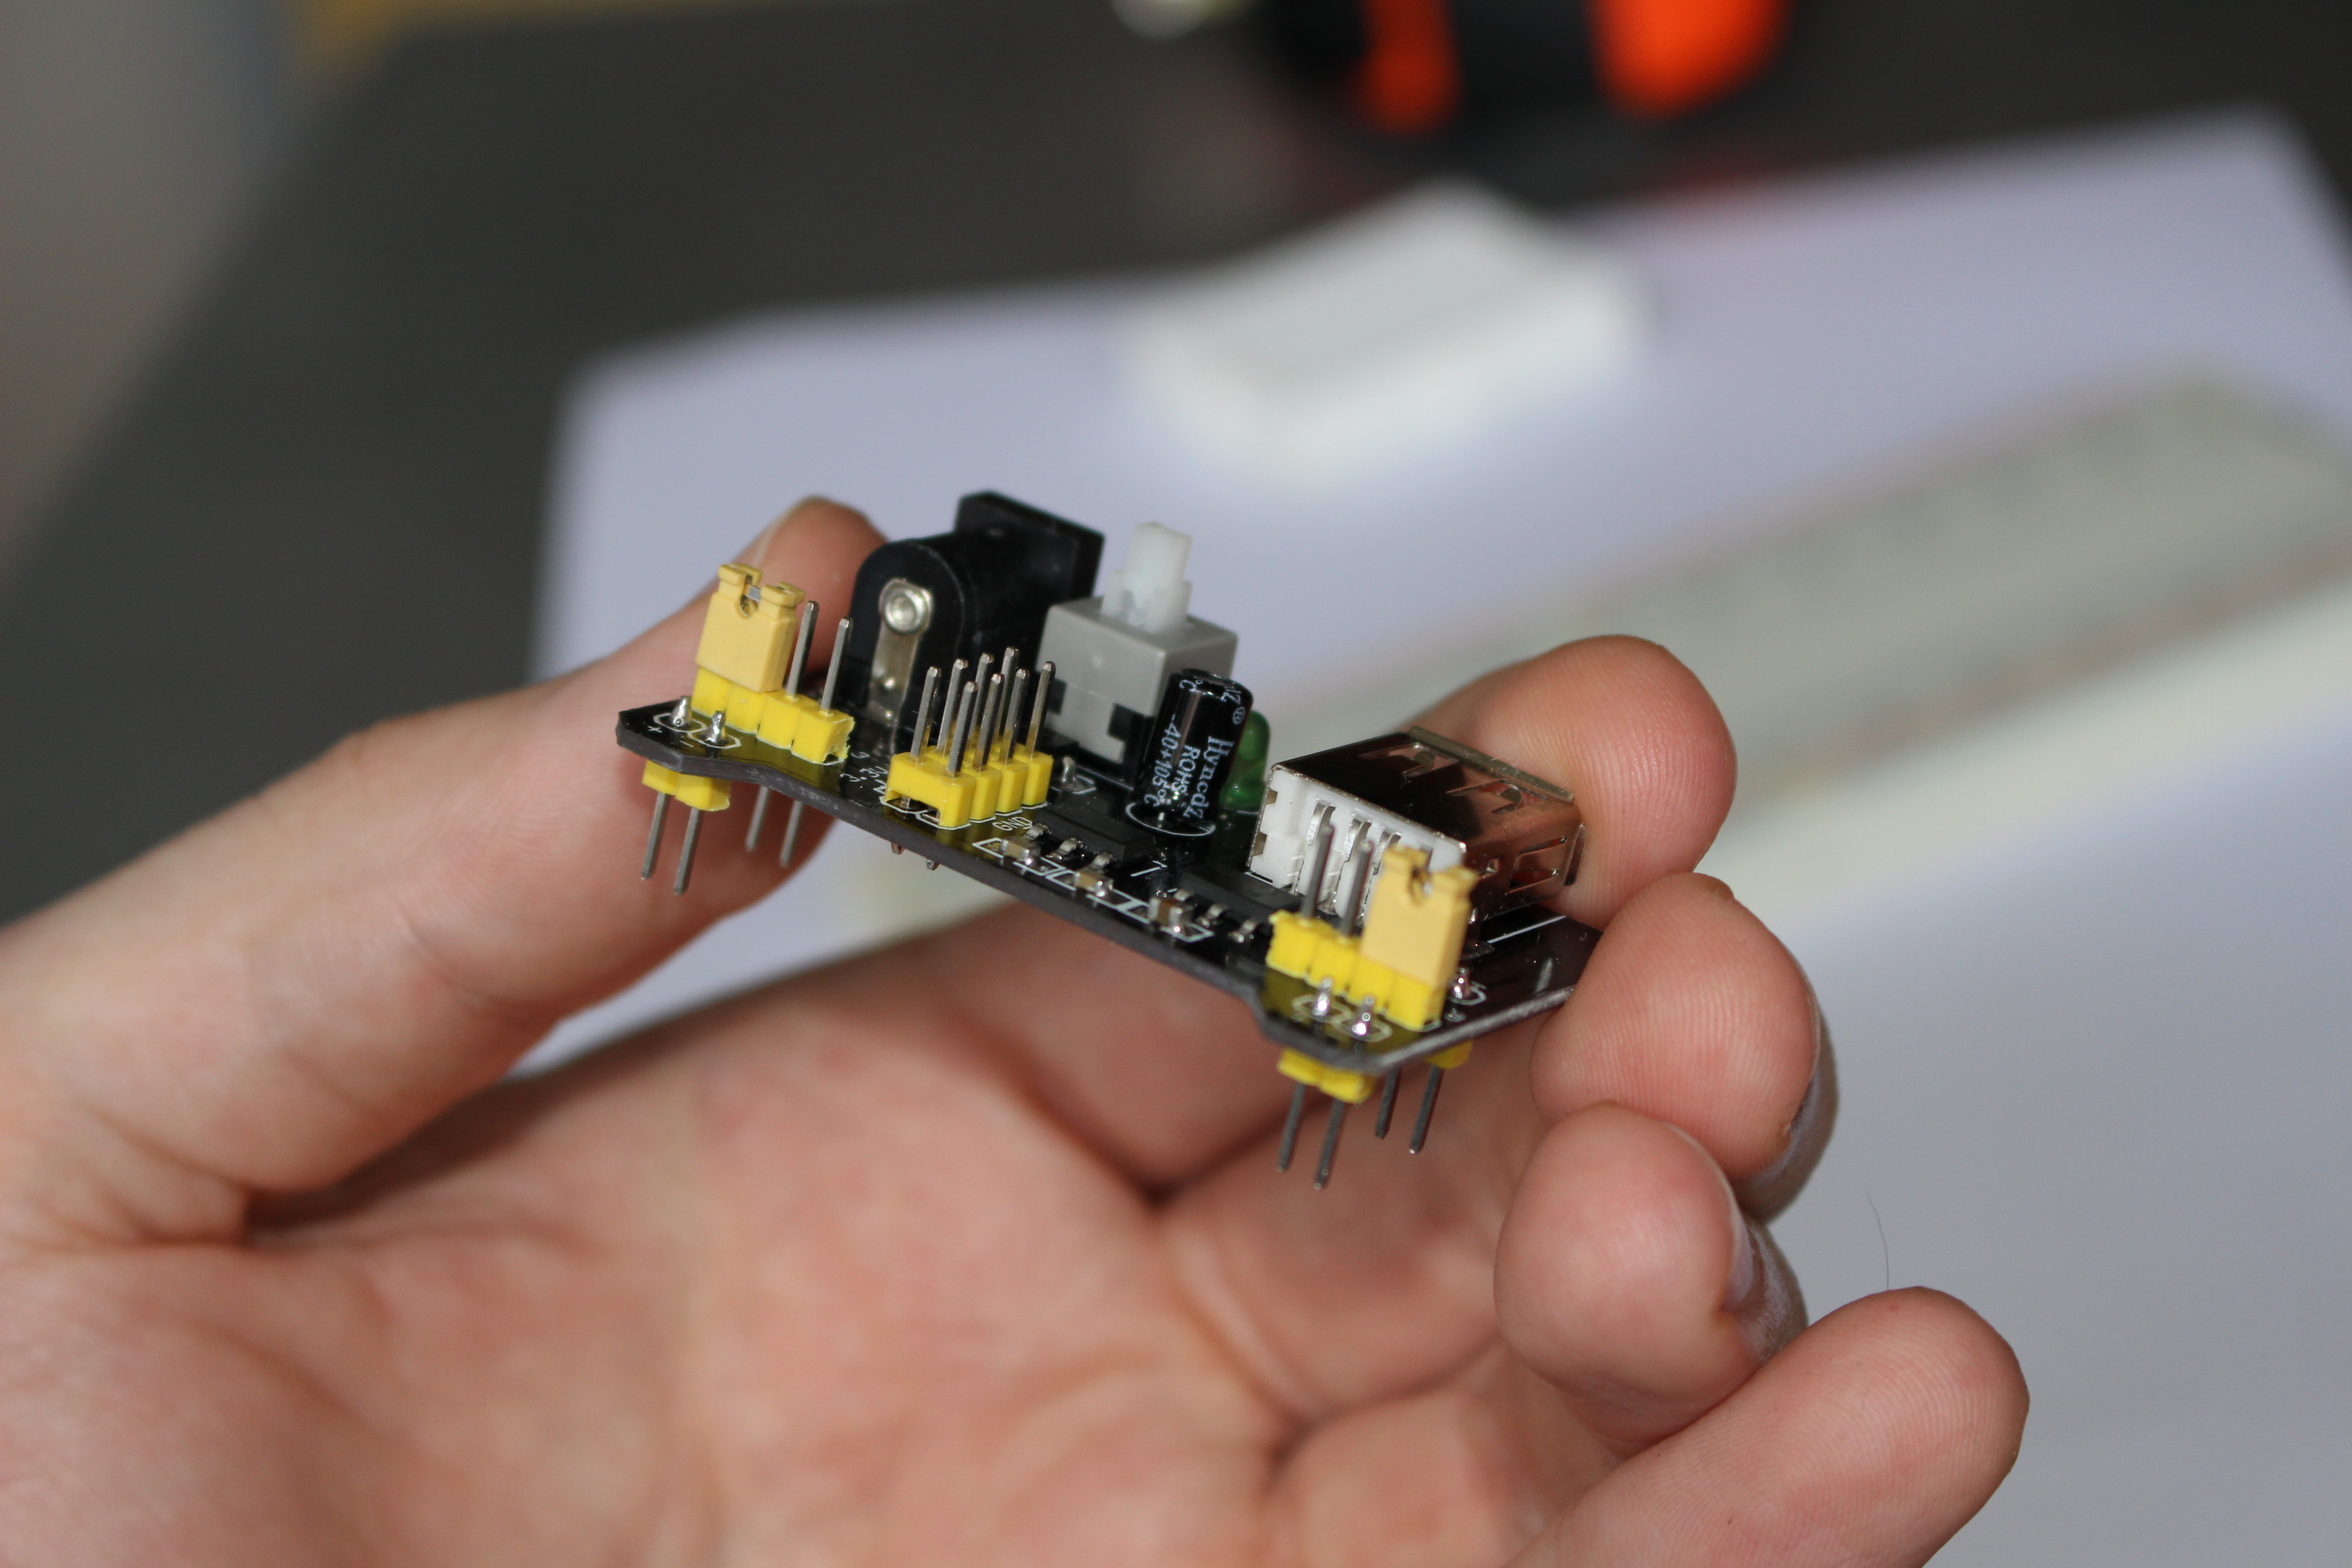
The best part ? It can be plugged to the classic breadboard. And if I want it, I can have 5V on the left side, and 3.3V on the right side of the breadboard :)

The end word
I'm glad to finally know how to use a breadboard. This gonna avoid me a lot of problems.
And with my new power source, I'm ready to make some circuits !