WebUSB on the Pro Micro (ATmega32u4)
An example of data exchange between your microcontroller and you web browser with WebUSB.
In some projects, I want to give the ability to the end user to control the devices I build, without using complex softwares. I discovered WebUSB and decided to give it a try!
This idea came to be after reading an article on WebUSB.
Basically, WebUSB allows you to safely use an USB device directly from a web page, using Javascript. The web browser Chrome is compatible with the WebUSB specification (and no driver or other software should be needed on Windows 10).
Hardware
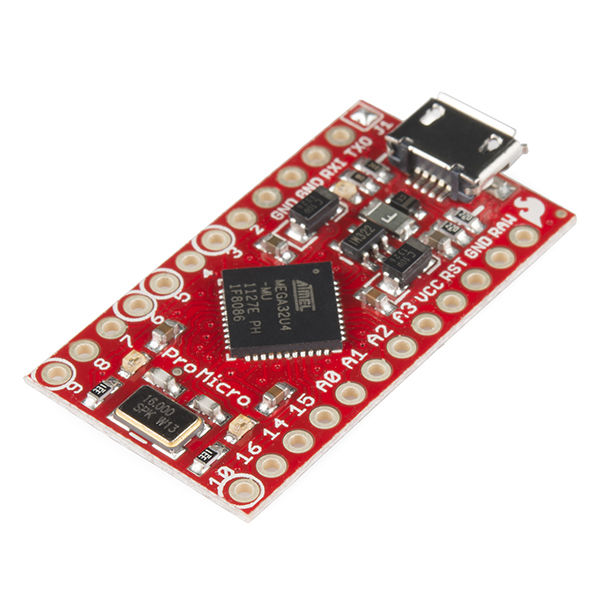
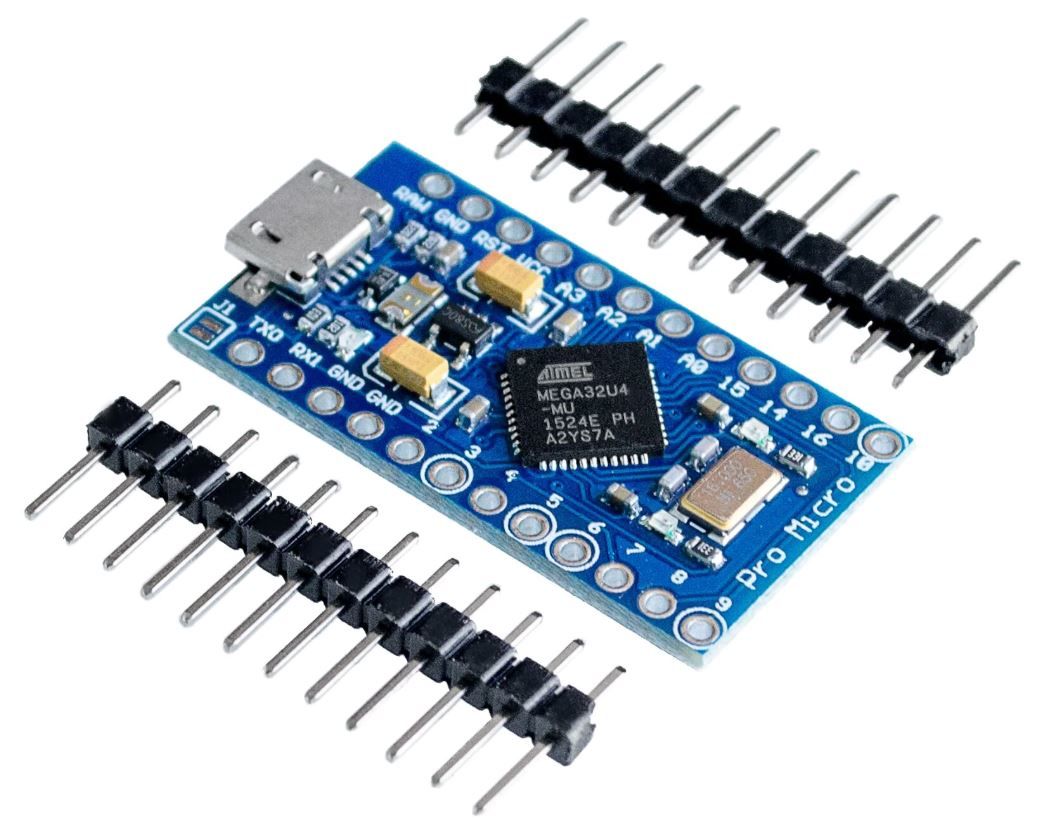
The ATmega32u4 have a built-in USB controller which is compatible with WebUSB thanks to some Arduino library.
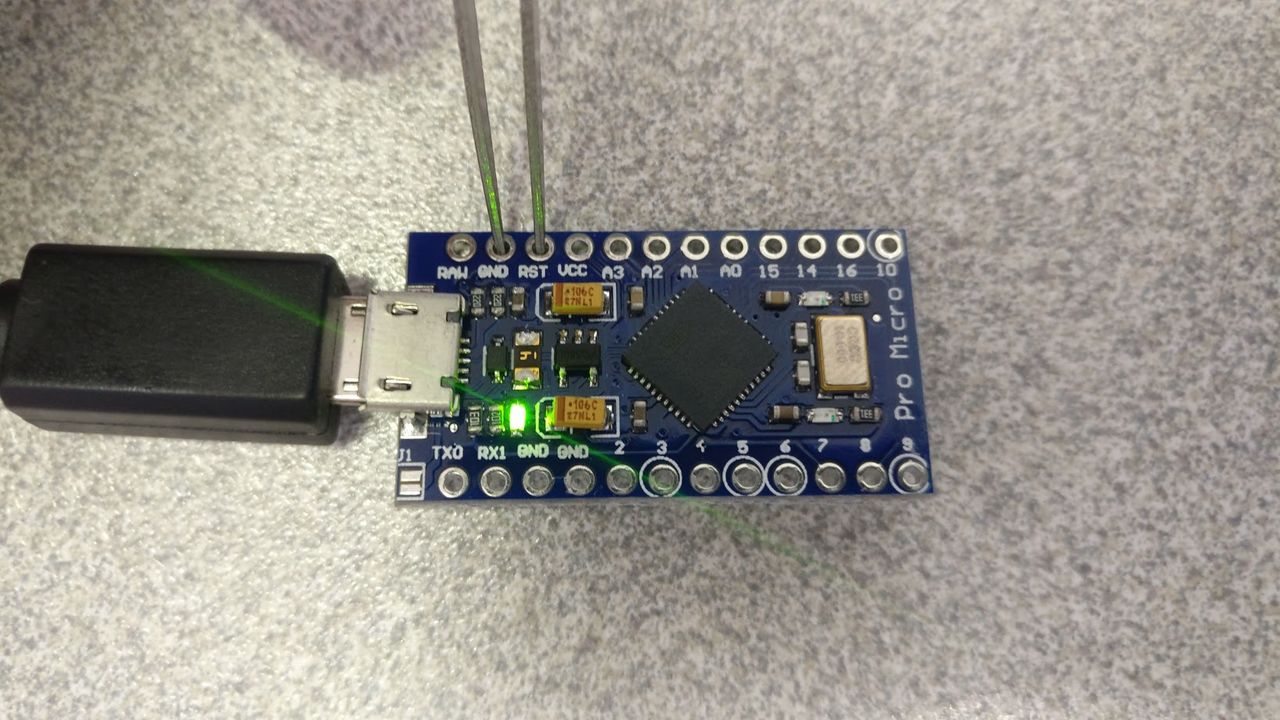
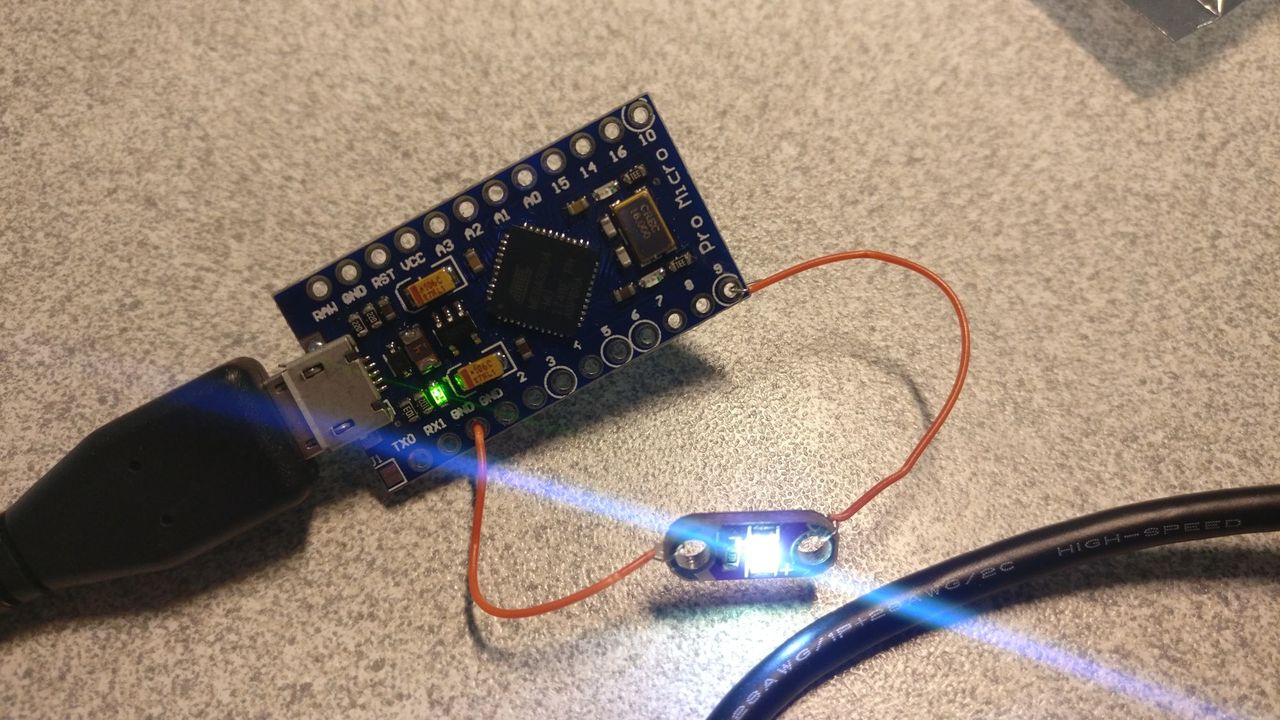
Some cheap modules can be found on AliExpress. They are quite similar to the Sparkfun Pro Micro.
Note: I also found a project using an ATtiny85 as WebUSB device. I will maybe try it as the ATtiny85 is quite cheap and can be used for a lot of small projects.
Unbrick the Pro Micro
During my development, I bricked the Pro Micro more than once.
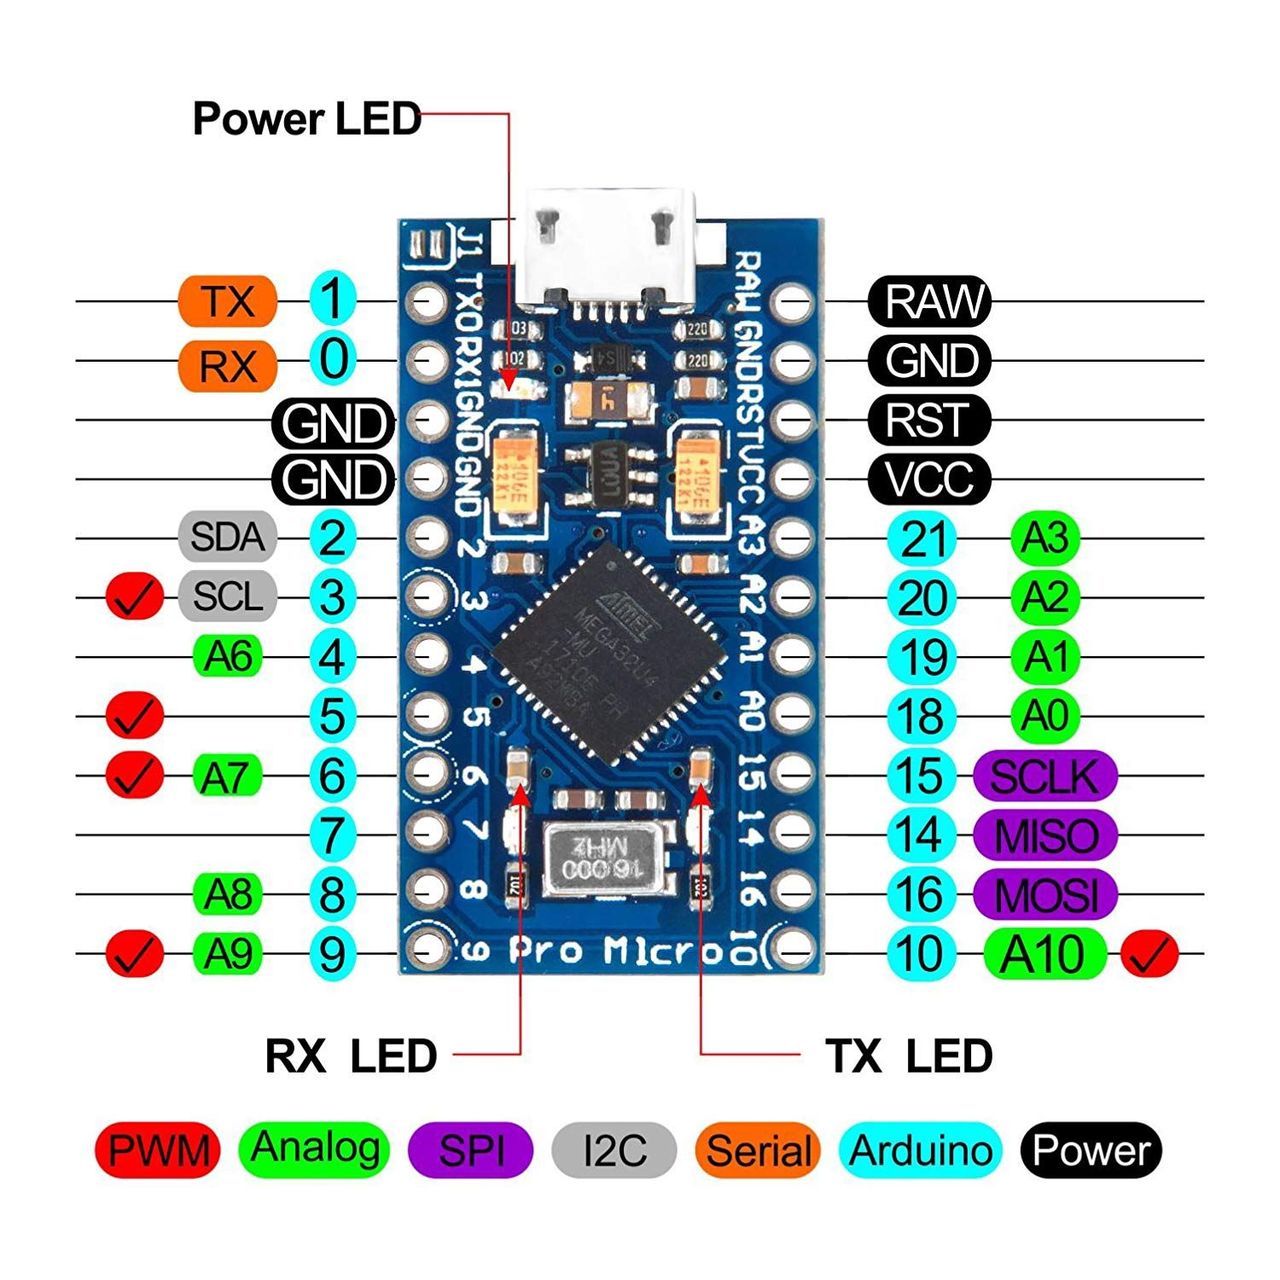
To unbrick it, I just had to reset it twice to go into bootloader mode for eight seconds (enough to upload a new sketch).
To reset it, just connect the RST pin to GND for a second.
USB Device definition
The USB device definition is quite complex. I will try to quickly explain what I understood.
Each USB Device Descriptor has a Vendor ID (VID), a Product ID (PID) and a USB version (for WebUSB, we need to use USB 2.1).
The Configuration Descriptor is used to specify power configurations (but not limited to that). Only one configuration descriptor can be enabled at a time.
The Interface Descriptor could be seen as a header or grouping of the endpoints into a functional group performing a single feature of the device.
Each Endpoint Descriptor is used to specify the type of transfer, direction, polling interval and maximum packet size for each endpoint.
The default Caterina bootloader contains two interface descriptors (number 0 and 1), which will be used to flash the device over USB.
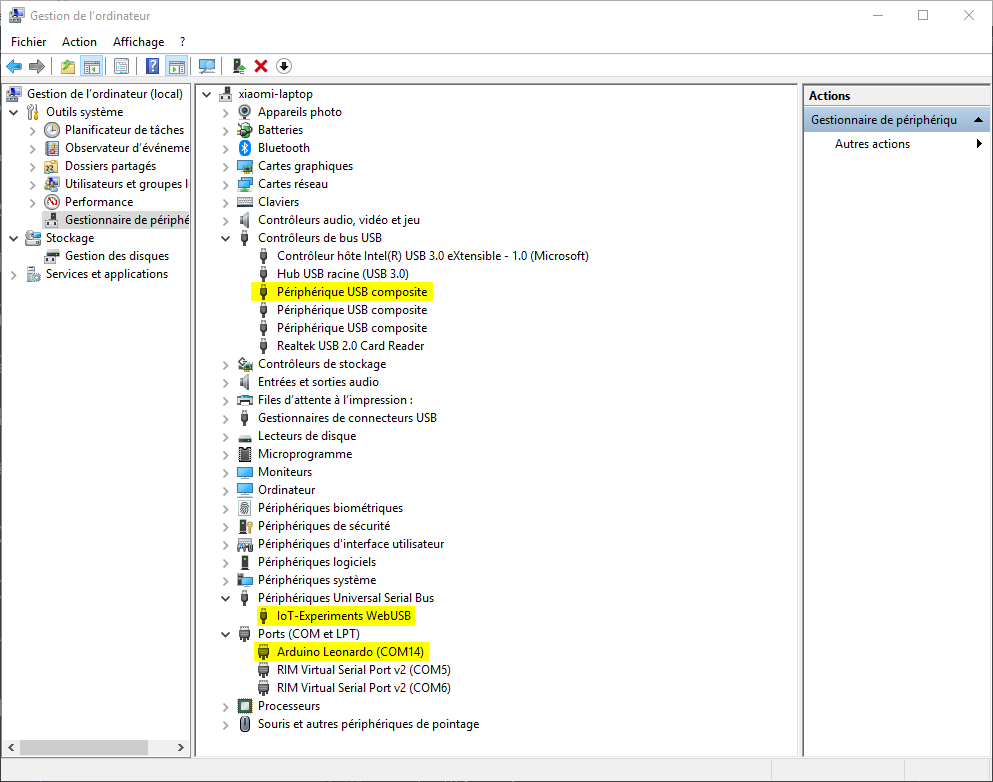
The Arduino source code will create a USB interface descriptor (number 2) which will be recognized by Windows 10 without installing any driver. This descriptor will allow me to talk to the ATmega32u4 as a serial port.
Set the USB device definition of our board
To override the default USB definition, some values could be change into the Arduino boards.txt file.
As I'm using PlatformIO (v1.5.0), I wanted to find a way to make it work without editing the Arduino SDK files.
platformio.ini
[env:promicro16]
platform = atmelavr
board = sparkfun_promicro16
;board_build.vid = 0x2341 ; Not managed by PIO
;board_build.pid = 0x8036 ; Not managed by PIO
board_build.usb_manufacturer = "IoT-Experiments.com"
board_build.usb_product = "IoT-Experiments WebUSB"
framework = arduino
extra_scripts = post:extra_script.py
build_unflags = -D USB_VID= -D USB_PID=
build_flags =
  -D USB_VERSION=0x210
  -D USB_VID=0x2341 ; Not managed by PIO but in extra_script
  -D USB_PID=0x8036 ; Not managed by PIO but in extra_script
extra_script.py
Import("env")

# We reaply the build flags as they seem to be lost...
env.ProcessFlags(env.get("BUILD_FLAGS"))
Proper VID and PID
To get the proper VID and PID, I should buy a VID number on usb.org.
Another solution is to use pid.codes, which allows you to get a free PID on their VID. Only constraint: your project has to be open-source.
Debug
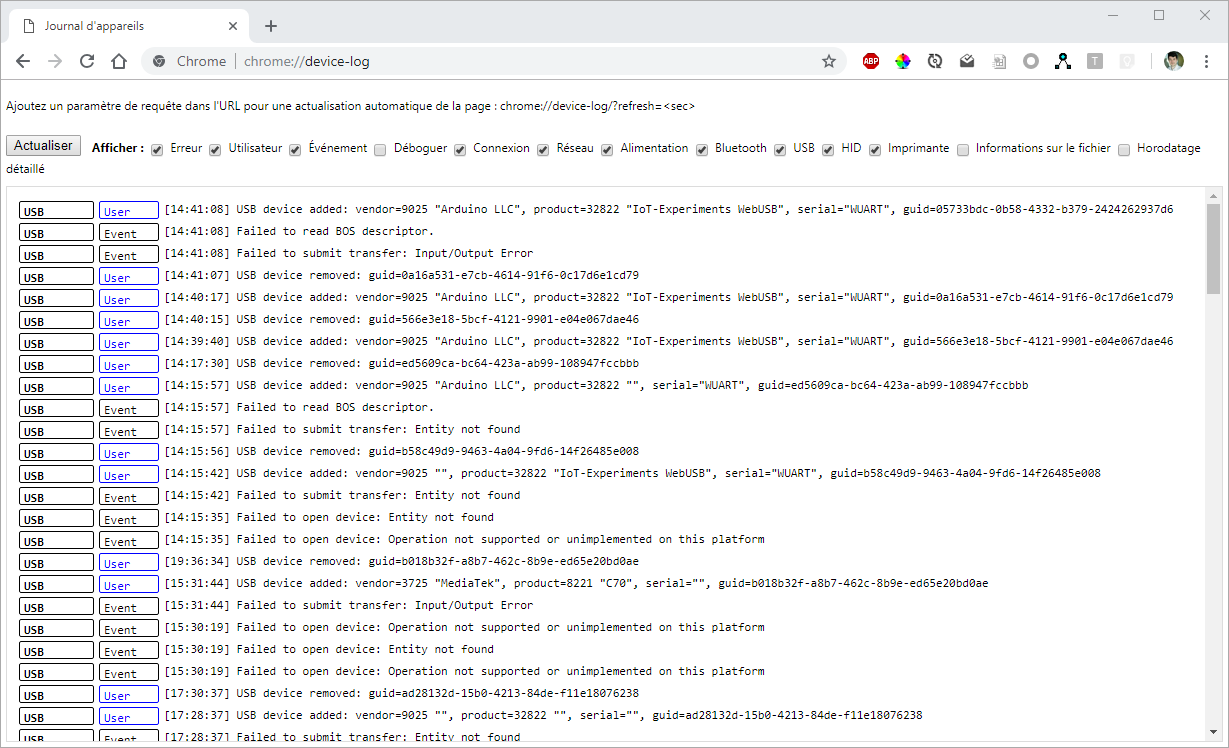
To debug the device, we can use the dedicated Chrome URL: chrome://device-log
You can check if the proper VID and PID are set as expected.
Arduino + ATmega32U4 and Serial
Since the boards do not have a dedicated chip to handle serial communication, it means that the serial port is virtual -- it's a software routine, both on your operating system, and on the board itself.
The main Serial class refers to the virtual serial driver on the board for connection to your computer over USB. It's not connected to the physical pins 0 and 1 as it is on the Uno and earlier boards. To use the hardware serial port (pins 0 and 1, RX and TX), use Serial1.
First code upload
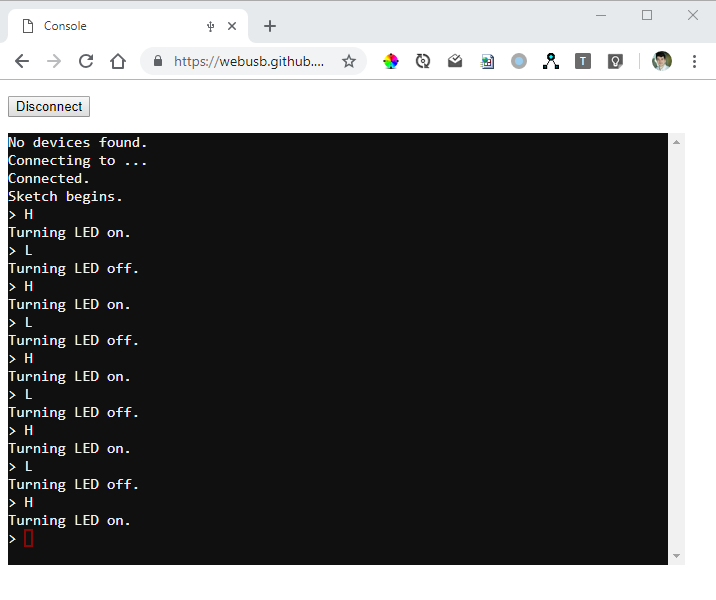
You can now upload the example source code of a console:
#include <WebUSB.h>

/**
 * Creating an instance of WebUSBSerial will add an additional USB interface to
 * the device that is marked as vendor-specific (rather than USB CDC-ACM) and
 * is therefore accessible to the browser.
 *
 * The URL here provides a hint to the browser about what page the user should
 * navigate to to interact with the device.
 */
WebUSB WebUSBSerial(1 /* https:// */, "webusb.github.io/arduino/demos/console");

#define Serial WebUSBSerial

// Sadly, on the Pro Micro, the default pin 13 / LED is not mapped
// I used pin 9 instead
const int ledPin = 9;

void setup() {
  while (!Serial) {
    ;
  }
  Serial.begin(9600);
  Serial.write("Sketch begins.\r\n> ");
  Serial.flush();
  pinMode(ledPin, OUTPUT);
}

void loop() {
  if (Serial && Serial.available()) {
    int byte = Serial.read();
    Serial.write(byte);
    if (byte == 'H') {
      Serial.write("\r\nTurning LED on.");
      digitalWrite(ledPin, HIGH);
    } else if (byte == 'L') {
      Serial.write("\r\nTurning LED off.");
      digitalWrite(ledPin, LOW);
    }
    Serial.write("\r\n> ");
    Serial.flush();
  }
}
Once uploaded, you can use your Chrome browser and go to the web hosted console (example source code).
Please note that the console example is only working for the following VID / PID, but it's only a software restriction on the website side.
[
      { 'vendorId': 0x2341, 'productId': 0x8036 },
      { 'vendorId': 0x2341, 'productId': 0x8037 },
      { 'vendorId': 0x2341, 'productId': 0x804d },
      { 'vendorId': 0x2341, 'productId': 0x804e },
      { 'vendorId': 0x2341, 'productId': 0x804f },
      { 'vendorId': 0x2341, 'productId': 0x8050 }
]
You can now use the console to control the LED on the Pro Micro; Press 'H' to turn the LED on, and 'L' to turn it off (digital output).
Conclusion
I have now a WebUSB demo project working on my ATmega32u4.
But having a JavaScript emulated web console is exactly what I want to avoid: having a complex interface for the end user.
The next step will be to build a project using WebUSB, and with it a clean website to have the best experience for the non-technical end user.