Arduino pro mini @ 1MHz in Arduino IDE
After building a bootloader for Arduino Pro Mini working at 1Mhz, I found a way to easily use it in the Arduino IDE.
In some previous posts, I explained how to run the Arduino Pro Mini at 1Mhz, and even how to compile a bootloader for this frequency.
To avoid compiling and downloading / installing the necessary tools each time I need to flash a device, I took some time to create a board library to Arduino IDE.
Now, you can add the board URL to your Arduino preference window, and add the board to your IDE without compiling anything.
This will enable you to:
- Flash the bootloader with an ISP programmer (e.g. USBTinyISP):
- Arduino Pro Mini @ 1Mhz / 7200 bauds
- Arduino Pro Mini @ 1Mhz / 3600 bauds
- Compile and send some code through the serial interface of your Arduino.
How to add the new boards to the Arduino IDE
- Open Arduino Studio (1.6.4+)
- Click on "File → Preferences"
- Click on the button near the field named "Additional Boards Manager URL"
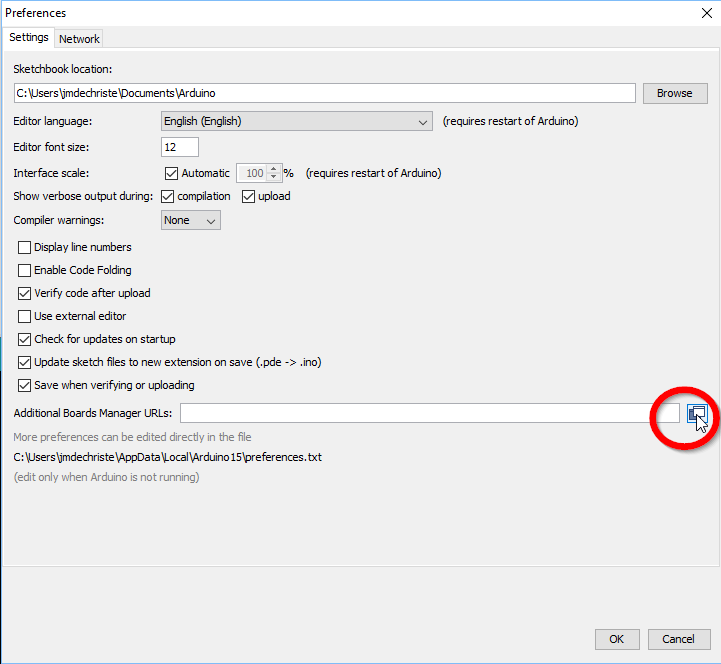
- Add the following URL into the text area:
https://raw.githubusercontent.com/IoT-Experiments/arduino-boards-index/master/package_iot-experiments.com_index.json - Validate, close the "Preferences" window, and restart the Arduino IDE
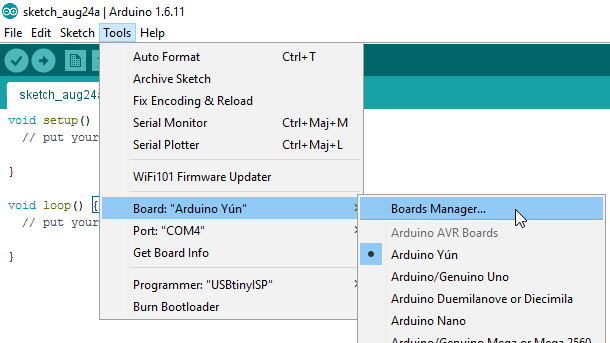
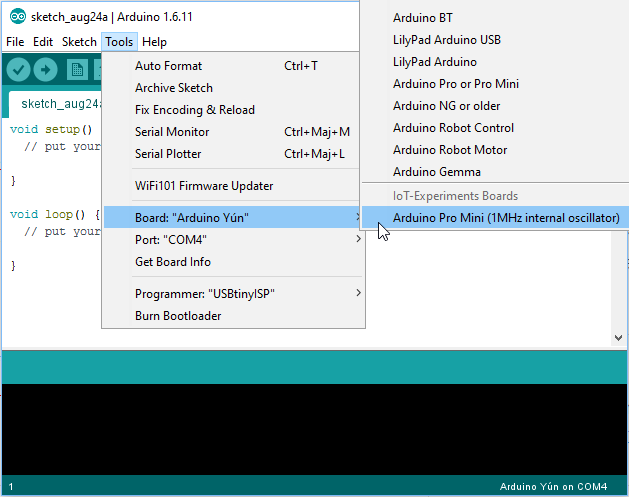
- Click on "Tool → Board: ([current board]) → Boards Manager"
- Select "Type: Contributed". You will see "IoT-Experiments Boards".
- Select it, and click on the "Install" button
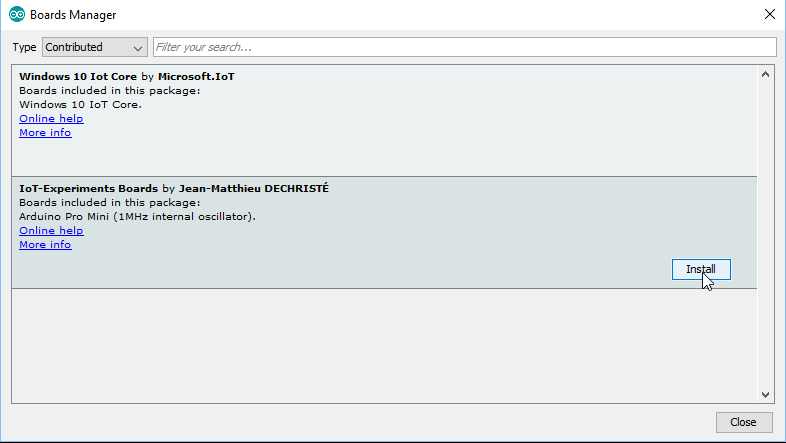
- Close the boards manager window.
That's it!
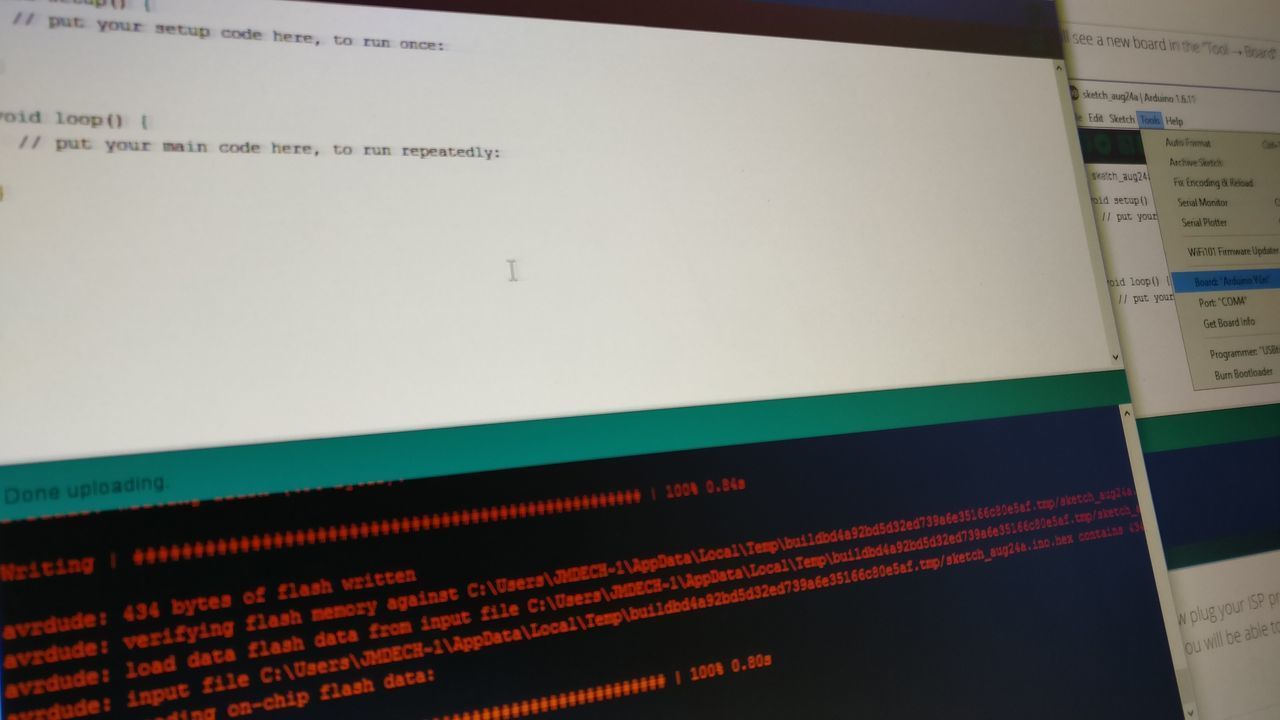
Now, you will see two new boards in the "Tool → Board" menu (the screenshot only displays one board because the second one has been added on the 1.1 release).
You can now plug your ISP programmer on your Arduino Pro Mini and burn the bootloader.
After that, you will be able to compile and upload some code through the serial line.
To create the necessary files, I used the official Arduino documentation and I looked at the Adafruit Github repository
You can look at the generated files with the two Github repositories :