Audio player [2]: Tardis tissue box cover
It's time to build the connected Tardis! Sound, lights, and tissue box in one beautiful (?) object!
![Audio player [2]: Tardis tissue box cover](https://storage.ghost.io/c/fe/14/fe1439bb-44cb-4fc0-aa30-44bf49d2ab9f/content/images/size/w2000/2017/08/IMG_20161225_203719.jpg)
If you read my first article on the audio player, you already now that it was meant to be a connected Tardis.
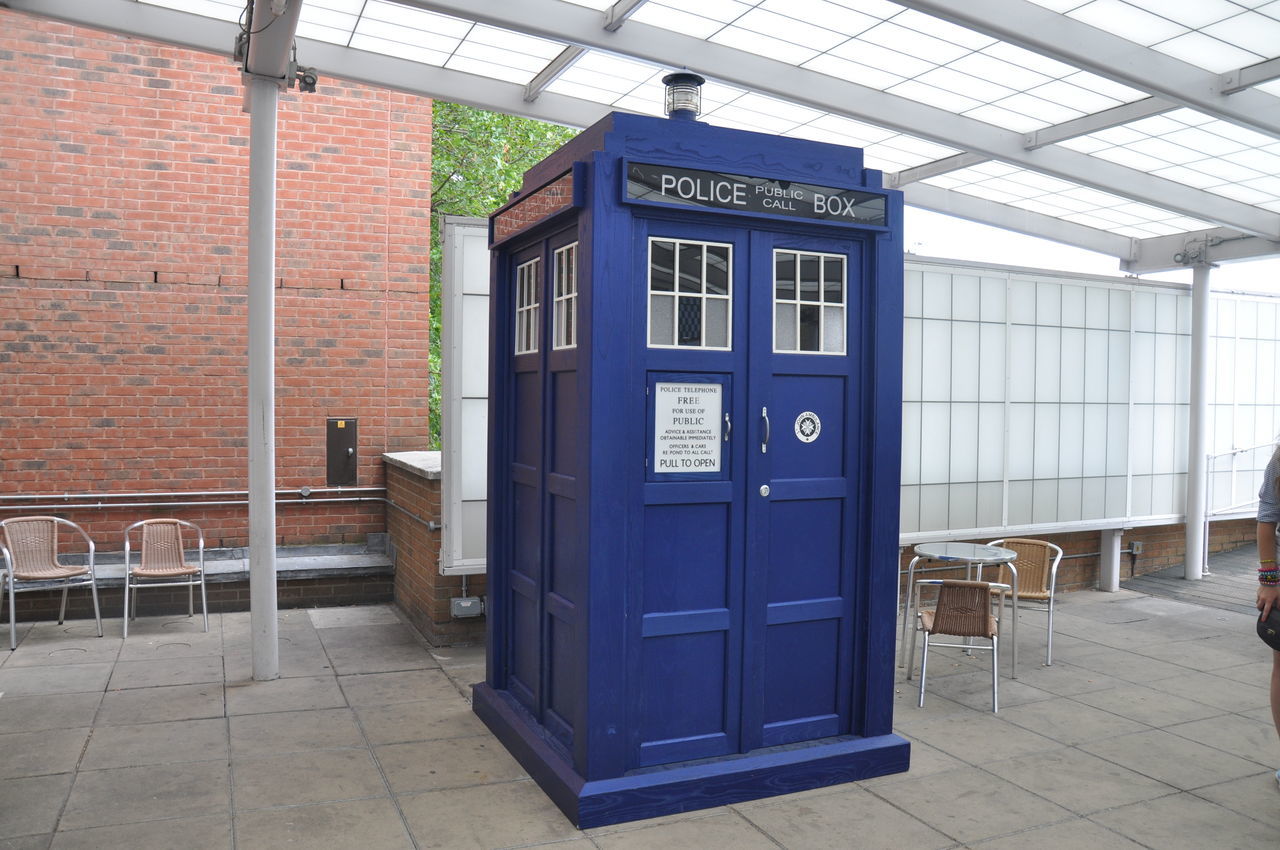
Please note that I'm not trying to create an accurate copy of a Tardis, but a fun one.
Blue box assembly
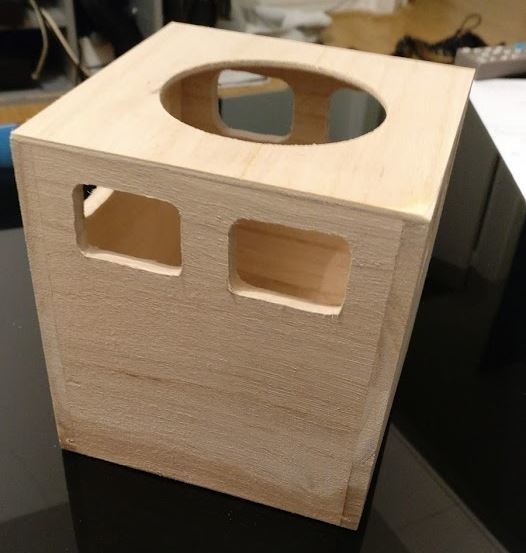
But when I looked for a box with a ratio of a Tardis, I found a wooden tissue box that inspired me : the Tardis will not only be a connected-useless thingy, but a tissue box :)

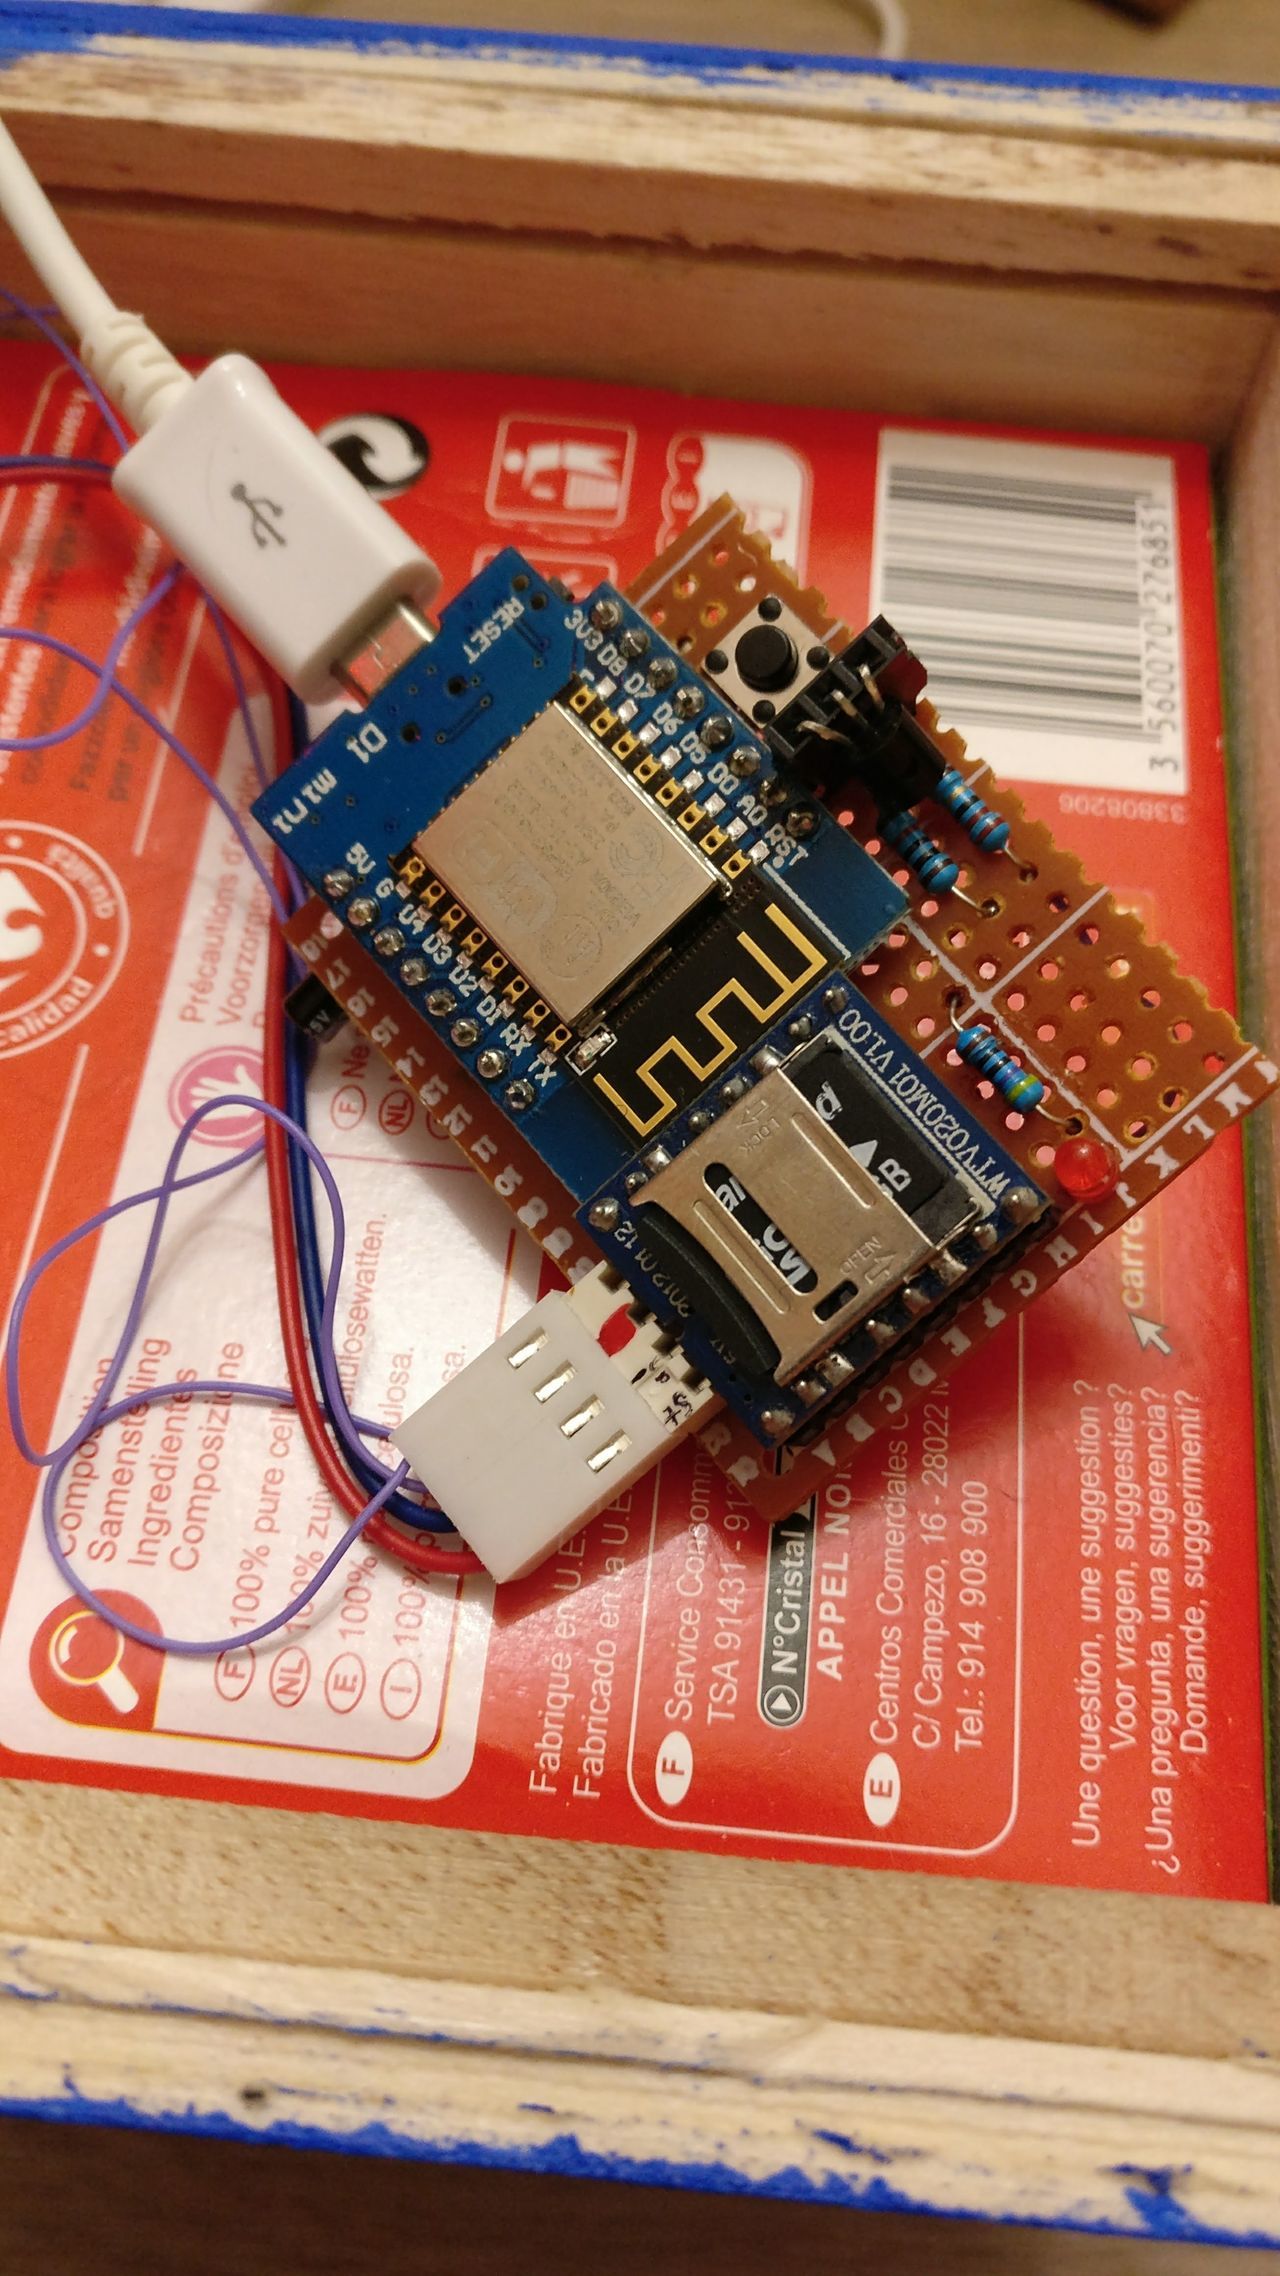
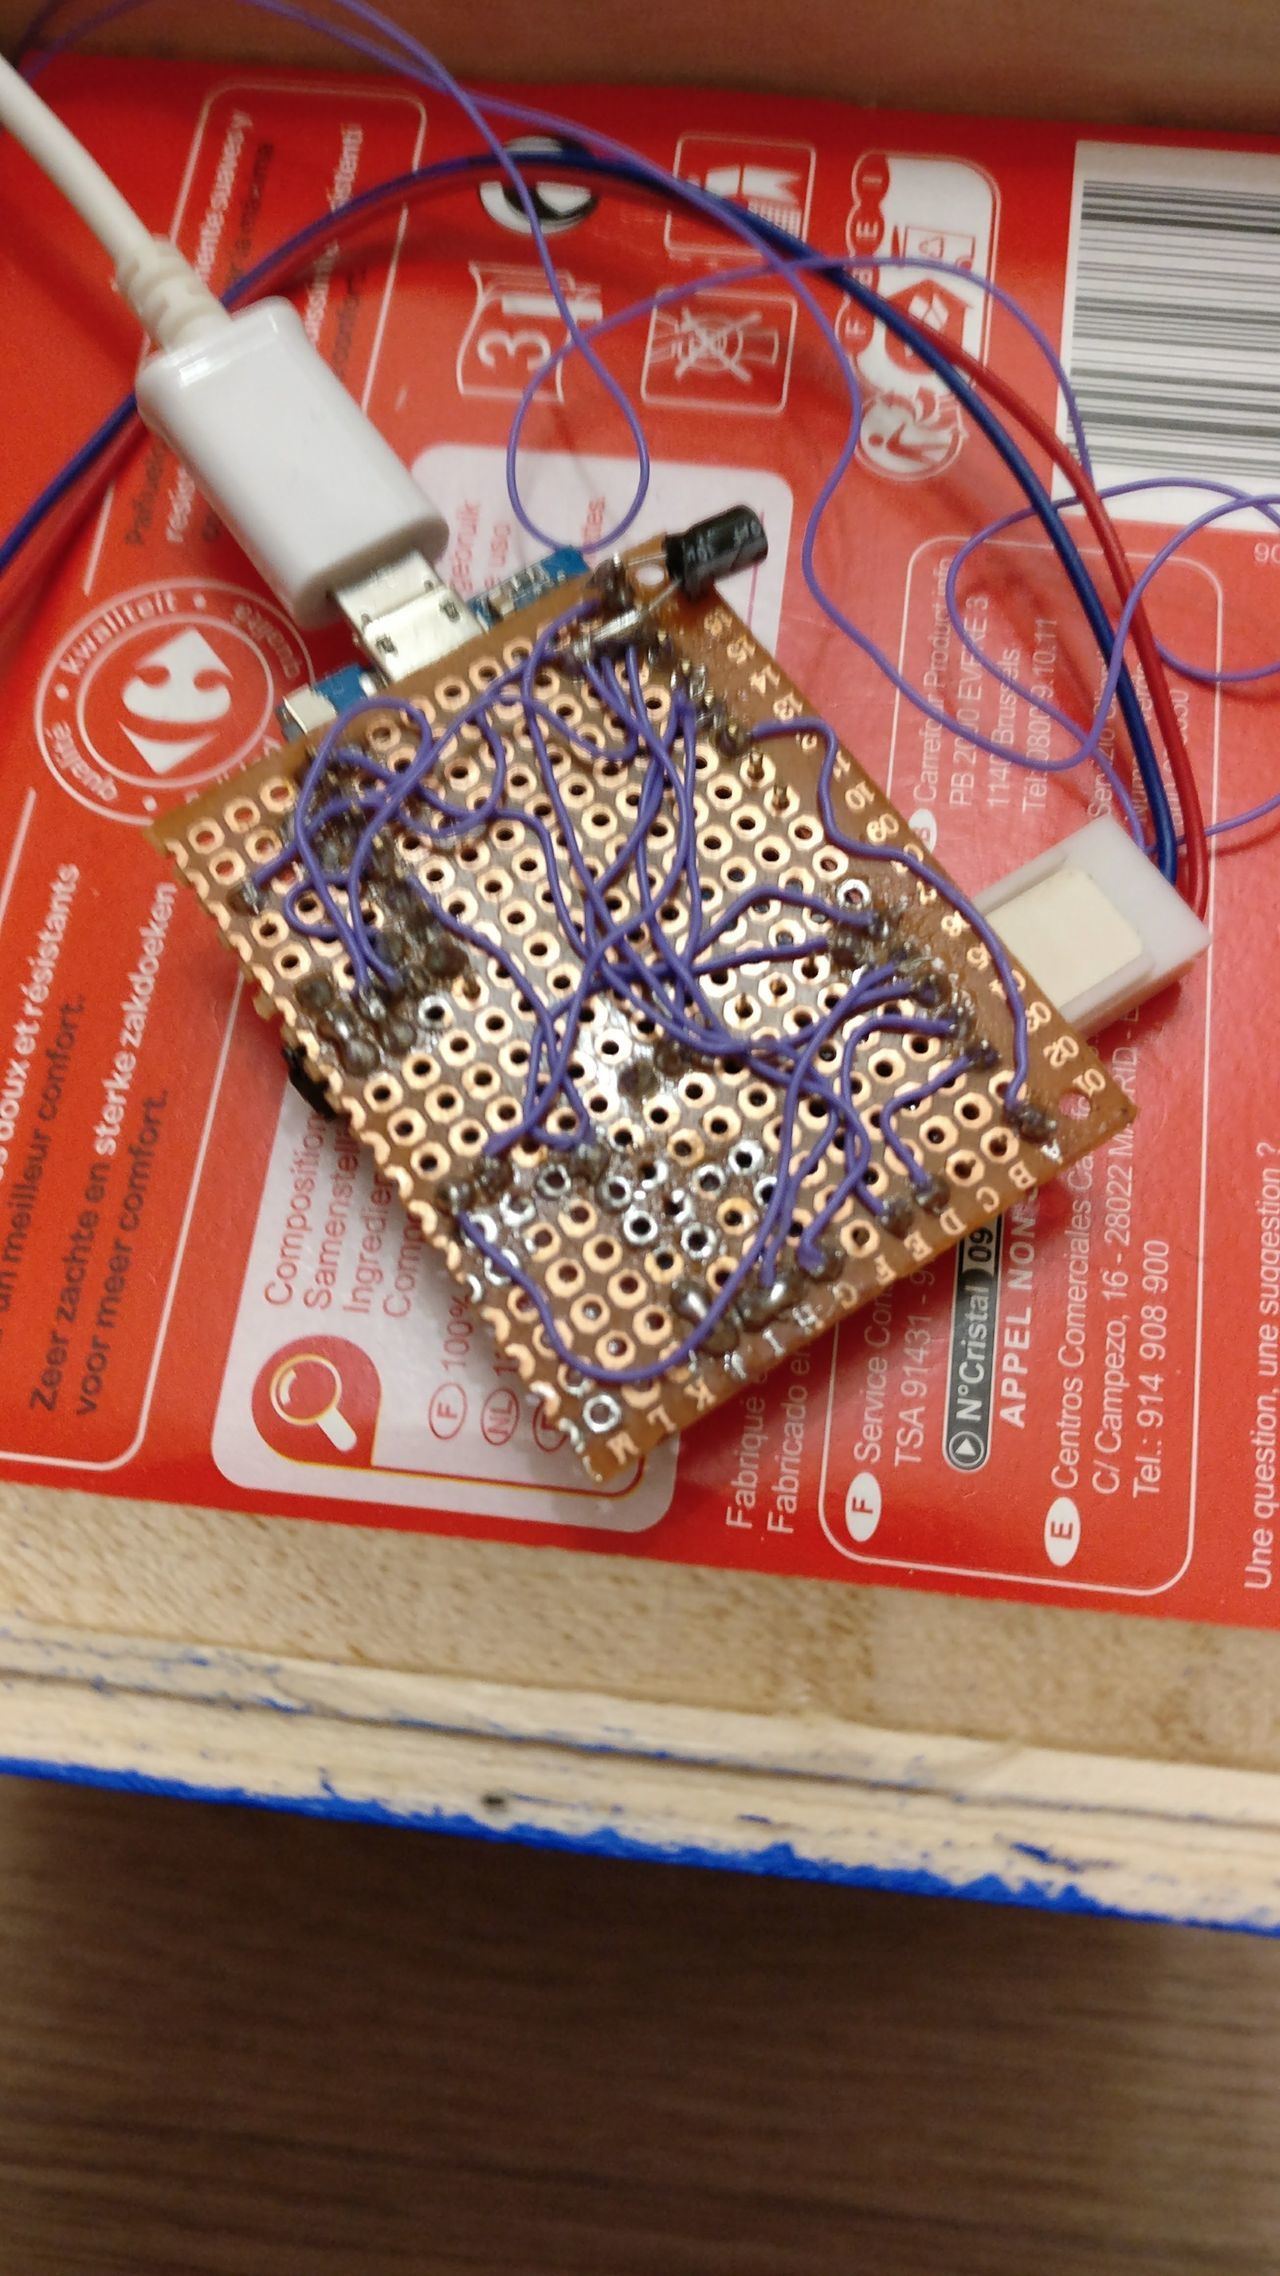
The space between the tissue box and the bottom cover of the box was quite small. I had to create a flat PCB.
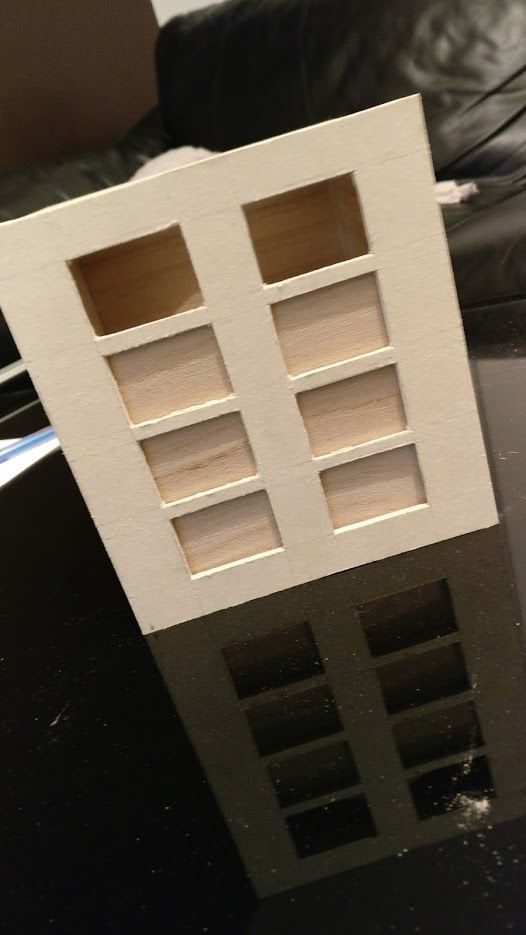
To transform it into a Tardis, I created two windows on each side.
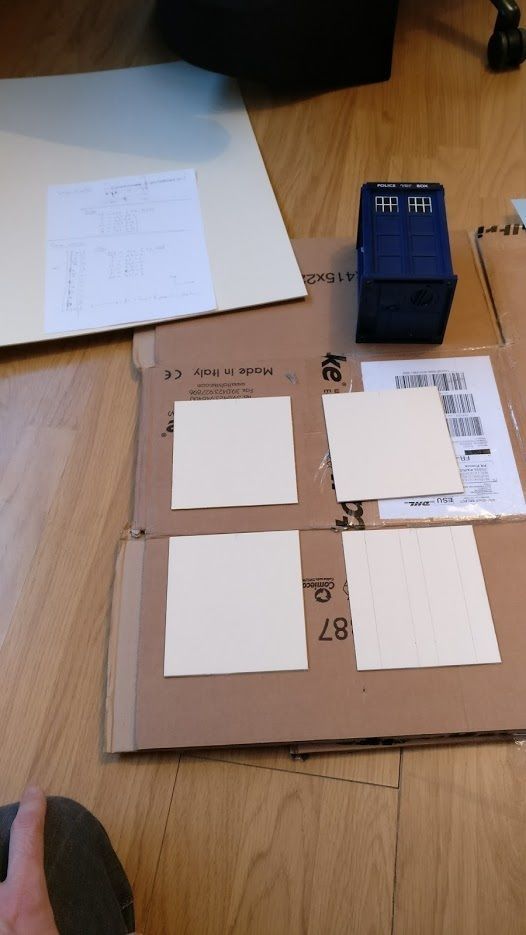
I also bought a wooden sheet to create some grid like each face of the Tardis.

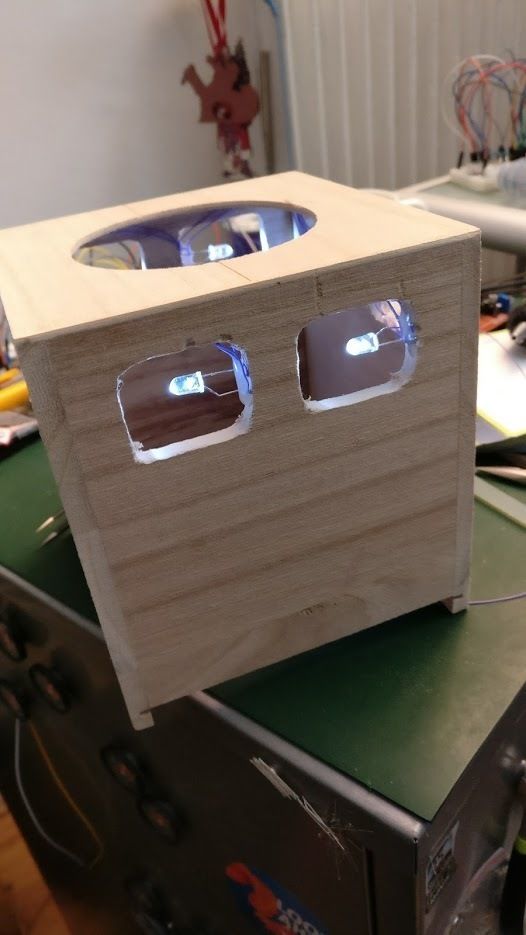
I created to LED string to add a LED in each window.
Please note that you have to respect the 1/4W limit of the resistor. The LED are controlled with a mosfet and PWM.
If I had to do a second version of the Tardis, I would use SMD LEDs and fix them on the bottom of each window.
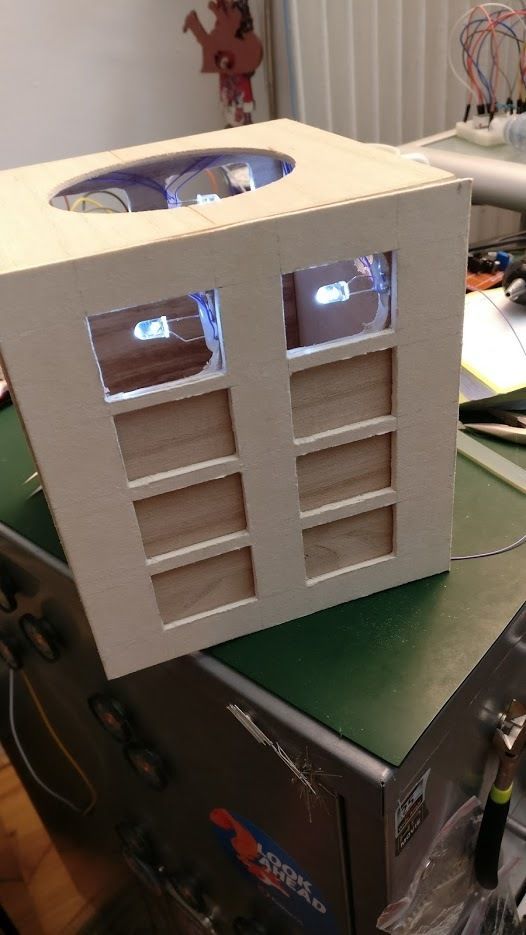
I used a tracing paper for the windows (later I will add a transparent plastic sheet).
It was time to check if the pulse mode of the Tardis was working with the real circuit and a tissue box inside the cover !
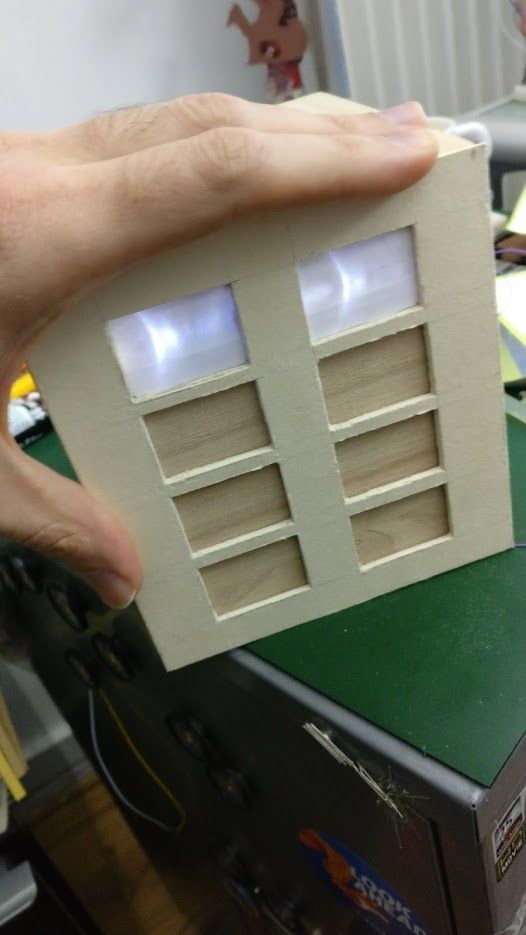
After that, I glued the faces, and added a small border on each side and on the bottom (by adding layers of wooden sheet).
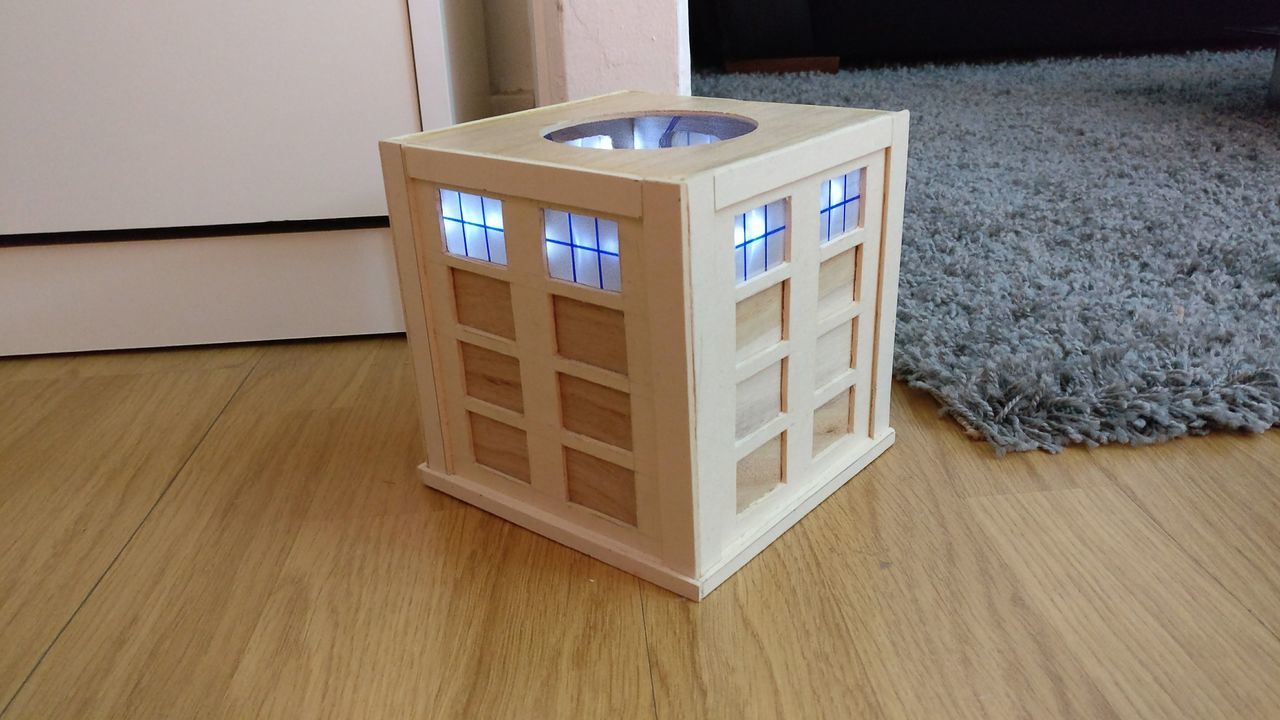
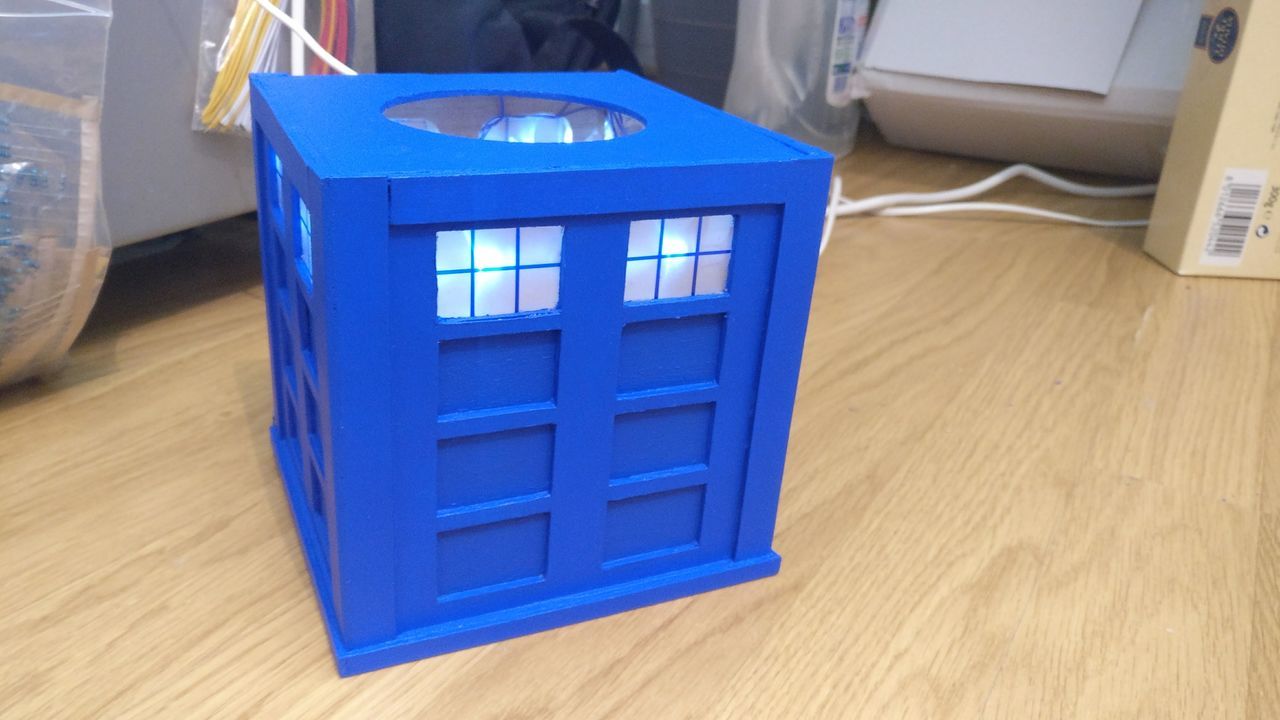
It began to look like a Tardis !
And after three layers of blue paint...
Circuit
The details of the circuit is available in my previous blog post.
To simplify the circuit, I used a Wemos D1 mini; it is used as main power supply through the USB port, and it's smaller that a NodeMCU board.
To control the LED pulse without burning the Wemos, I used a small mosfet, the 2N7000. It was quite a challenge ! If all was working on the breadboard, after being soldered, it stopped working (some current was always passing through, letting the LED always on).
I tried many times, but it was always the same: the mosfet wasn't working as expected. At the end, I added a small 3 pin female header, and I put the mosfet in it. Ugly but it get the job done.
Final result
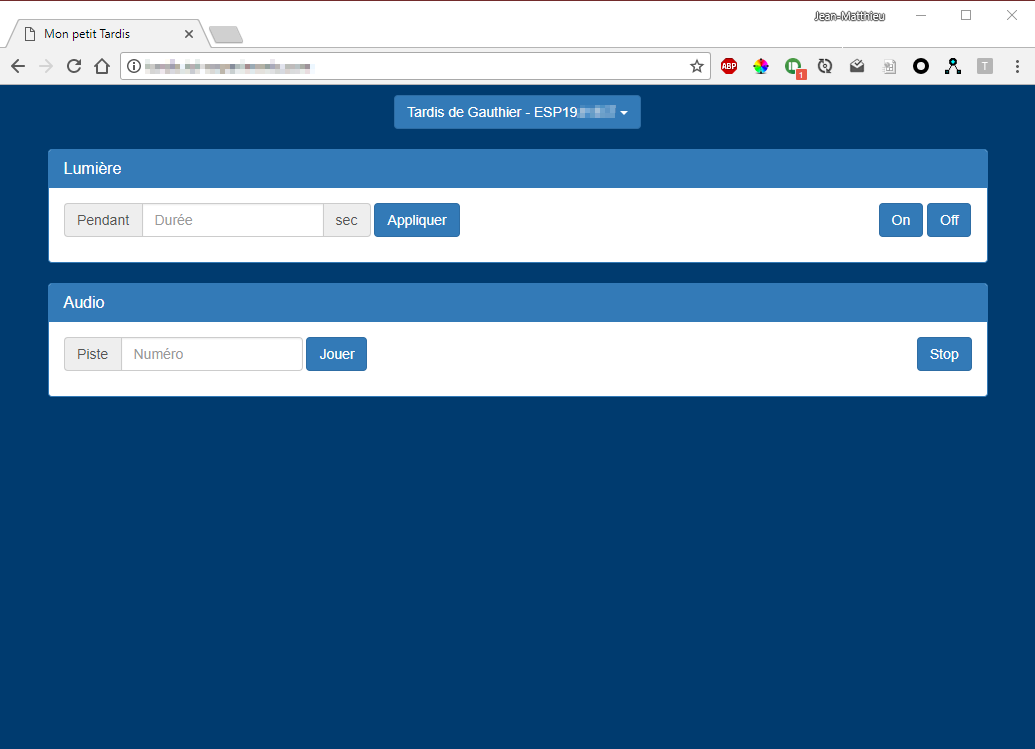
With a little MQTT message to put the light on, or play a sound.
Currently, a website can send some messages to the Tardis, but the idea is to used NodeRed to play a sound when a episode of Dr Who broadcast starts in UK, and power on the LED during the whole broadcast.